Breach Protocol

Media

Learn the game

How breaching, gunplay and Outbreak actually work, and the frames to go with them. Everything below is captured in-engine at the game's own settings. No bullshots, no offline renders, no mock-ups dressed as gameplay.

Start with the three basics

The three basics

Twenty minutes of this and you will be useful to a team. The in-game learning area drills all three with no clock on you.

Four photographs of one interior wall in sequence: intact, then reinforced with a metal panel, then breached with a ragged hole through the plaster, then hard-breached with the reinforcement itself cut open
One wall, four states — intact, reinforced, breached, hard-breached. Same wall, same angle, four different answers to the same question.

Basic one

Breaching — every wall is a door

A soft wall is a suggestion. Shoot it and it opens a hole you can see and shoot through; set a breach charge and it opens a hole you can walk through. That is why the defenders' first job every round is to decide which walls stop being walls.

Reinforcing turns a soft wall into steel, and steel does not care about bullets or about an ordinary charge. Exactly one tool in the game opens it — the hard breacher's thermal charge — and exactly one operator carries that tool. Take the reinforcement away and the attackers have four ways in; leave it and they have one.

  • Attacking: make a hole nobody is watching, not the shortest hole.
  • Defending: a reinforced wall you never watch is a wall you wasted.
How destruction works →

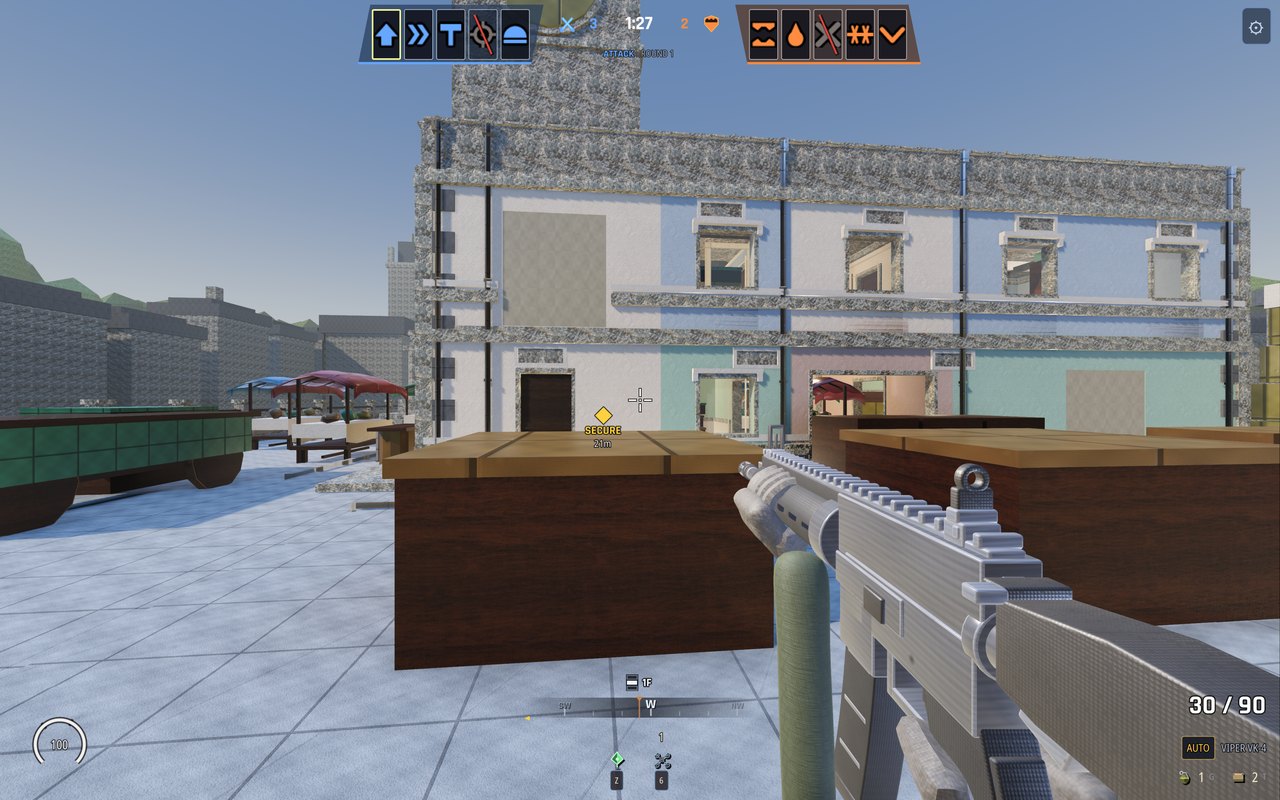
First-person view across the market square toward the market house, with the multiplayer HUD: both five-man team rosters and the round clock along the top, a SECURE objective marker reading 21 metres, and ammunition, compass and floor indicator along the bottom
The heads-up display, mid-round: both rosters and the round clock along the top, the objective twenty-one metres out, ammunition and compass along the bottom.

Basic two

Gunplay — the first shot is the one that counts

Recoil climbs, and it climbs upward: the gun rises as you hold the trigger and pulls your picture off the target with it. Fire in short bursts and let it settle between them, and the second burst lands where you were looking. Hold it down and the fifth round is somewhere above the ceiling.

Aiming down the sight narrows what you can see and steadies what you can hit. Inside a building the trade is usually worth it and outside it usually is not, which is the whole argument of a doorway.

  • Peek with the sight already up. Turning a corner and then aiming is two actions in the time an opponent needs one.
  • Lean rather than step. Less of you crosses the gap.
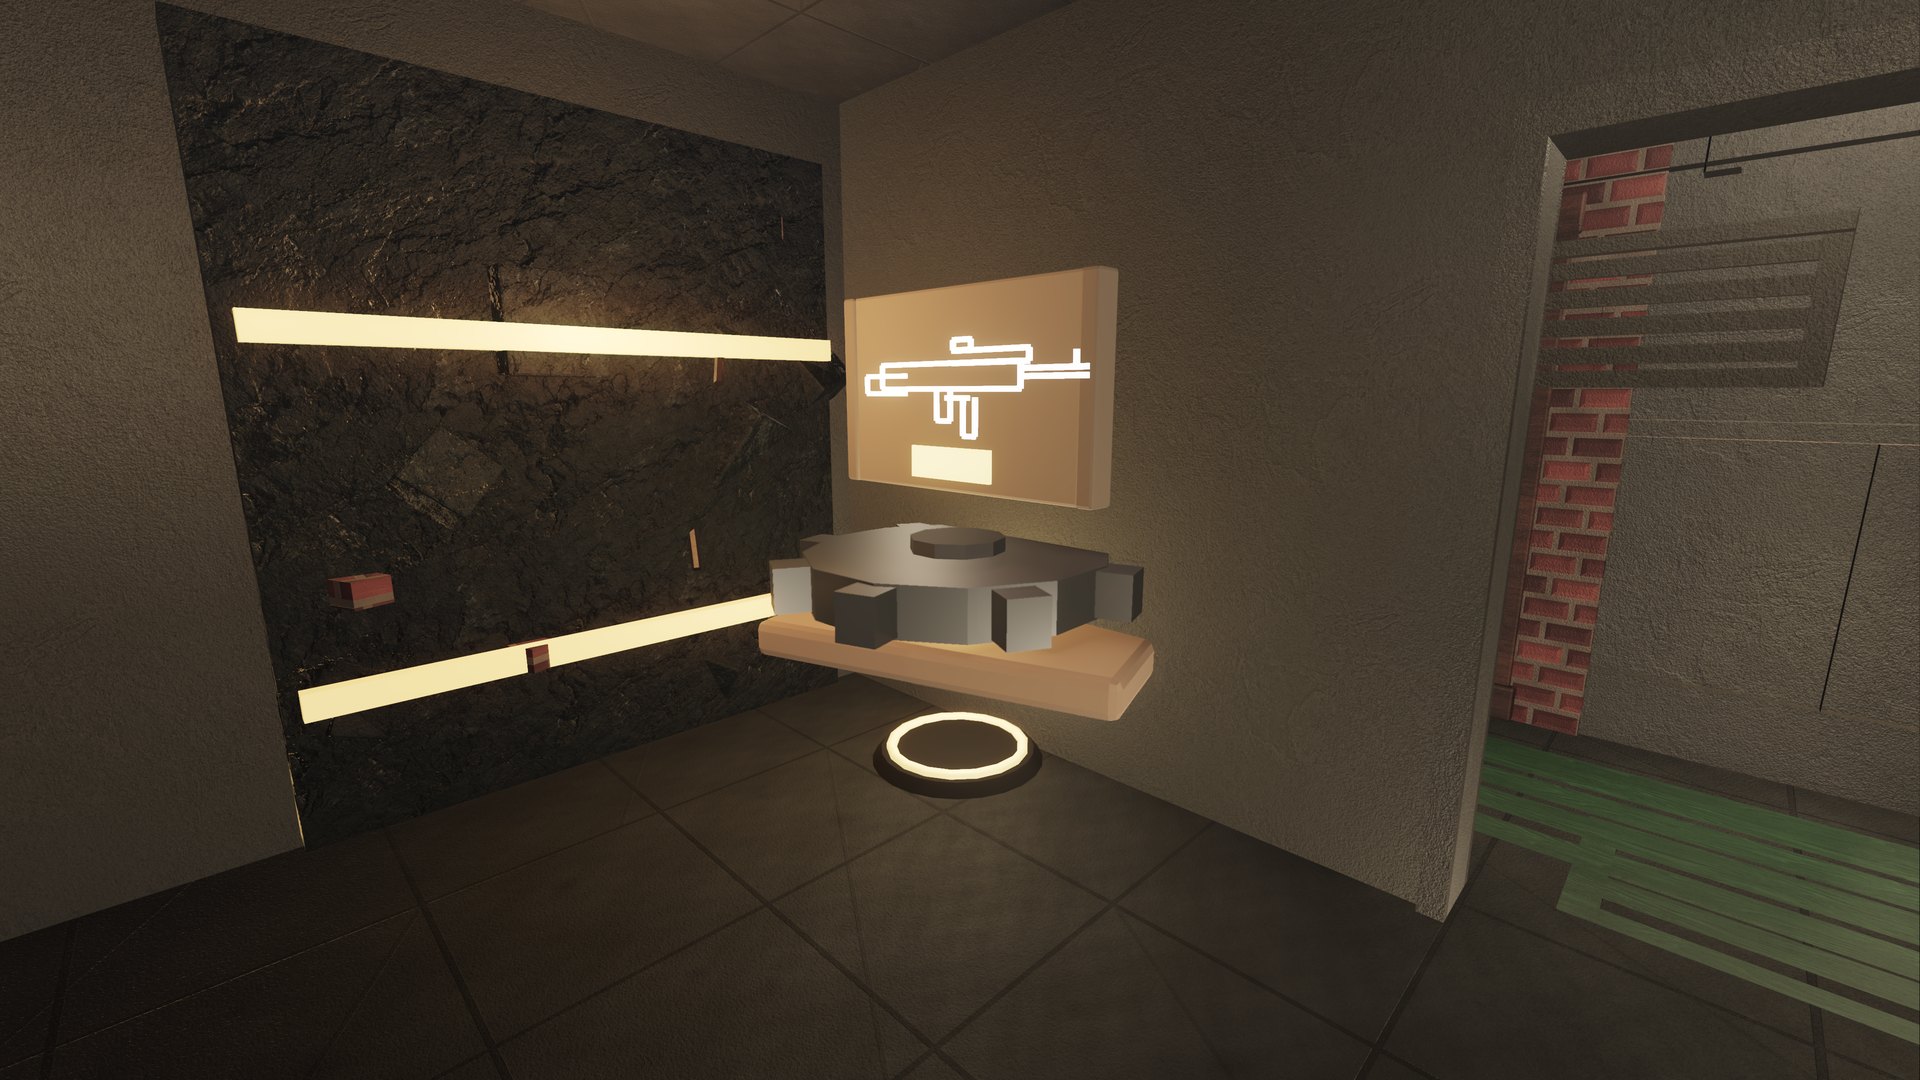
How a round is fought →

Outbreak: a wall-buy weapon panel glowing on the wall of a darkened interior, a buy station on the floor beneath it
Points come off the horde and go straight back into the wall — the rifle on that panel costs about what the last round paid you.

Basic three

Outbreak — the walls are the shop

Rounds arrive one after another and each one is worse than the last. Killing pays you, boarding a window pays you, and everything you can buy is bolted to a wall somewhere in the building: guns on the panels, perks at the machines, and the doors themselves are for sale.

The first three rounds are the ones that decide the run. Spend them opening the part of the map you intend to hold and finding the power, not on the best gun you can afford. A good rifle in a room with four ways in is worth less than a pistol in a room with one.

  • Board the windows early. They pay, and the horde takes longer to arrive.
  • Find the power before you need it. Half the machines are dead until it is on.
  • Pick the room you will die in, and make it expensive.

Everything in Outbreak →

Watch it work

Three mechanics, captured in-engine at the game's Ultra Quality preset. Each clip is one continuous take, captured at 3840×2160 and delivered at 1920×1080 — nothing is staged, re-timed or composited. The breaching clip is filmed from a third-person camera because a first-person view cannot show a charge you have just placed on the wall in front of you; gunplay and Outbreak are the player's own view. Outbreak was recorded from round eight, which is why the horde arrives as thickly as it does.

Breaching — Breaching, end to end: the charge goes on the wall, the operator backs off, the wall opens, and the entry is through the hole he just made. 0:17 · 1920x1080
Gunplay — Gunplay: hip fire, then iron sights — recoil, reload and reactive steel on the range. 0:21 · 1920x1080
Outbreak — Outbreak: a live round, a real horde, and a lane to hold. 0:14 · 1920x1080

Screenshots

Twelve of the sixteen maps in rotation, as the game renders them.
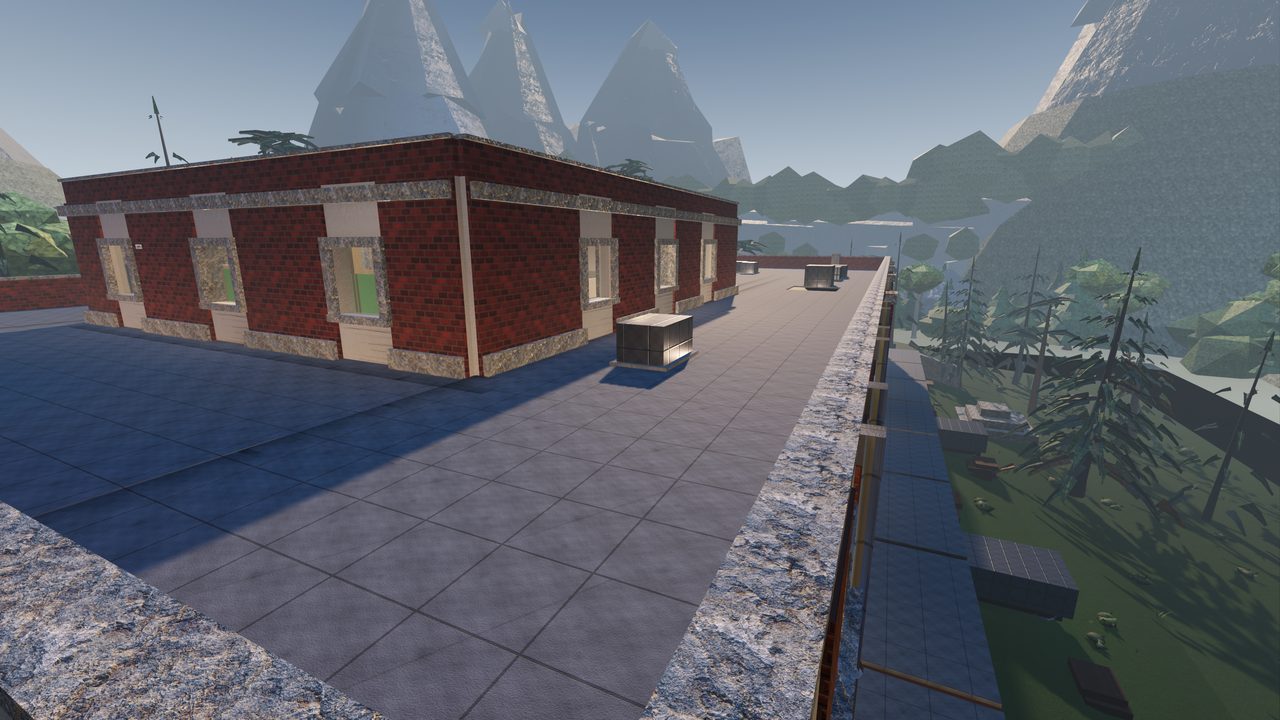
Scarpline: a hillside funicular station under mountains
Scarpline — a disused hillside funicular station cut into a north-facing slope.
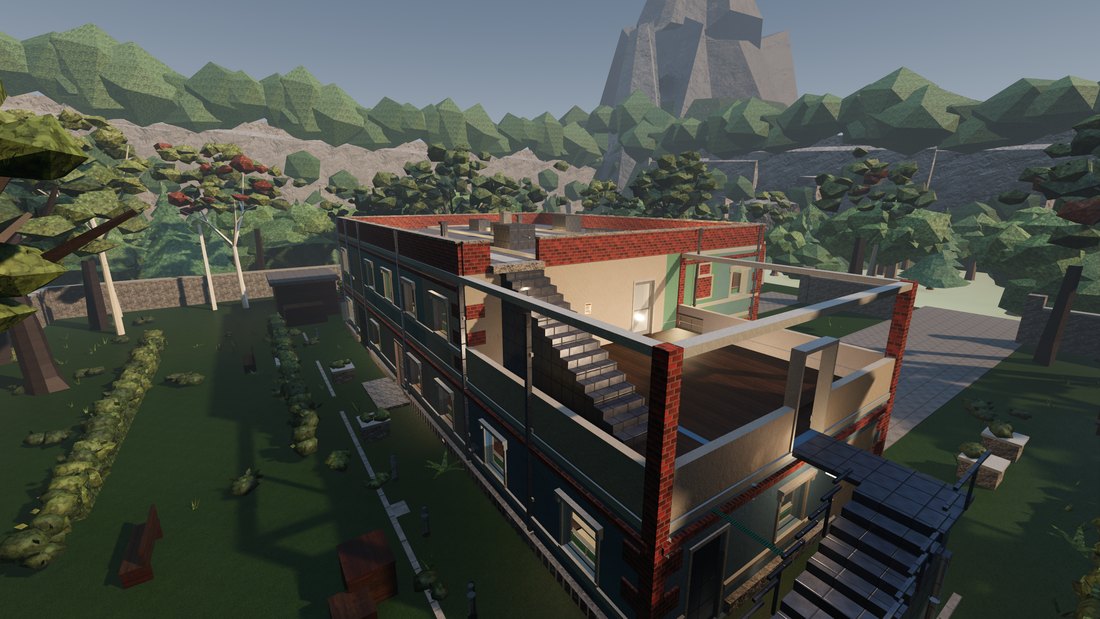
Ashfold seen from above, the roof open onto the top floor with its staircase, painted rooms and the floor below
Ashfold from above — a cellar and two storeys, seen through the open part of the roof.
Dryrange from above, four stone ranges around a courtyard
Dryrange — four ranges wrapped around an open courtyard.
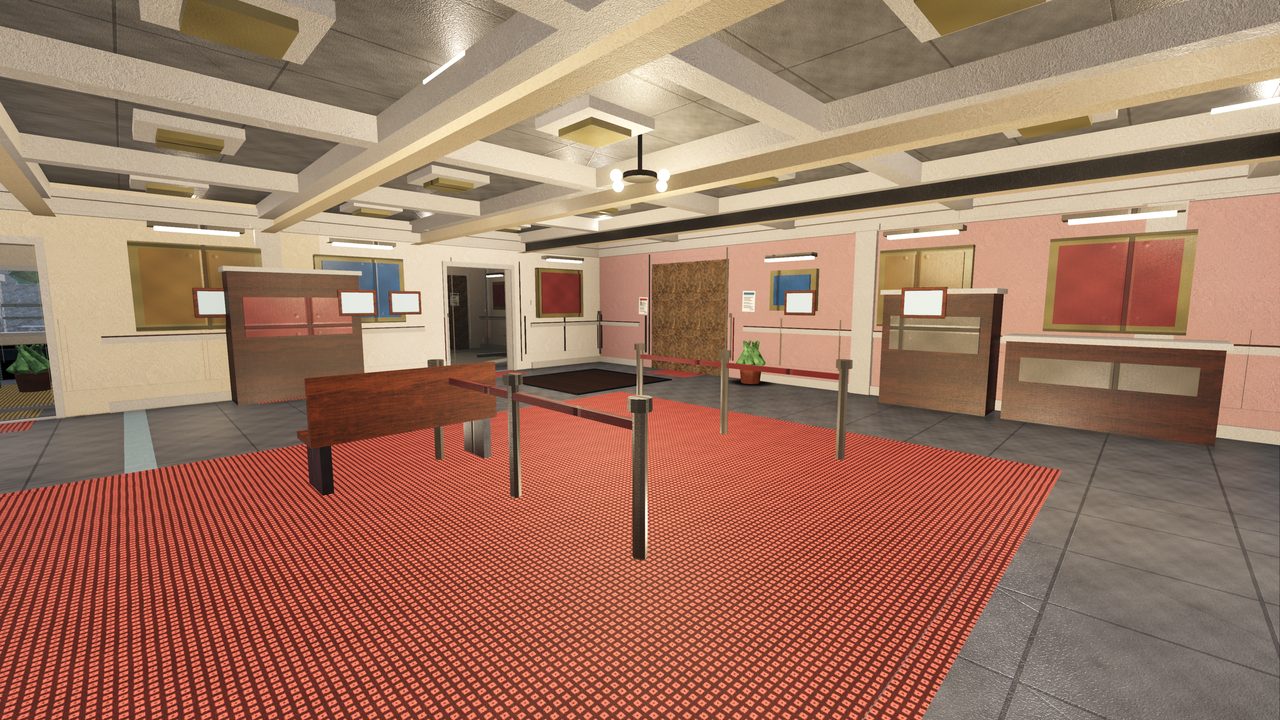
Bank: the open floor behind a bank's teller counters, strip-lit, with a doorway through to more counters beyond
Bank — the Open Area behind the tellers, one of the three places the objective can land on this map.
Lanternhall: a museum's great gallery, pictures hung along both walls under a coffered ceiling, with a rope line across the floor
Lanternhall — the great gallery, hung and roped off under a coffered ceiling.
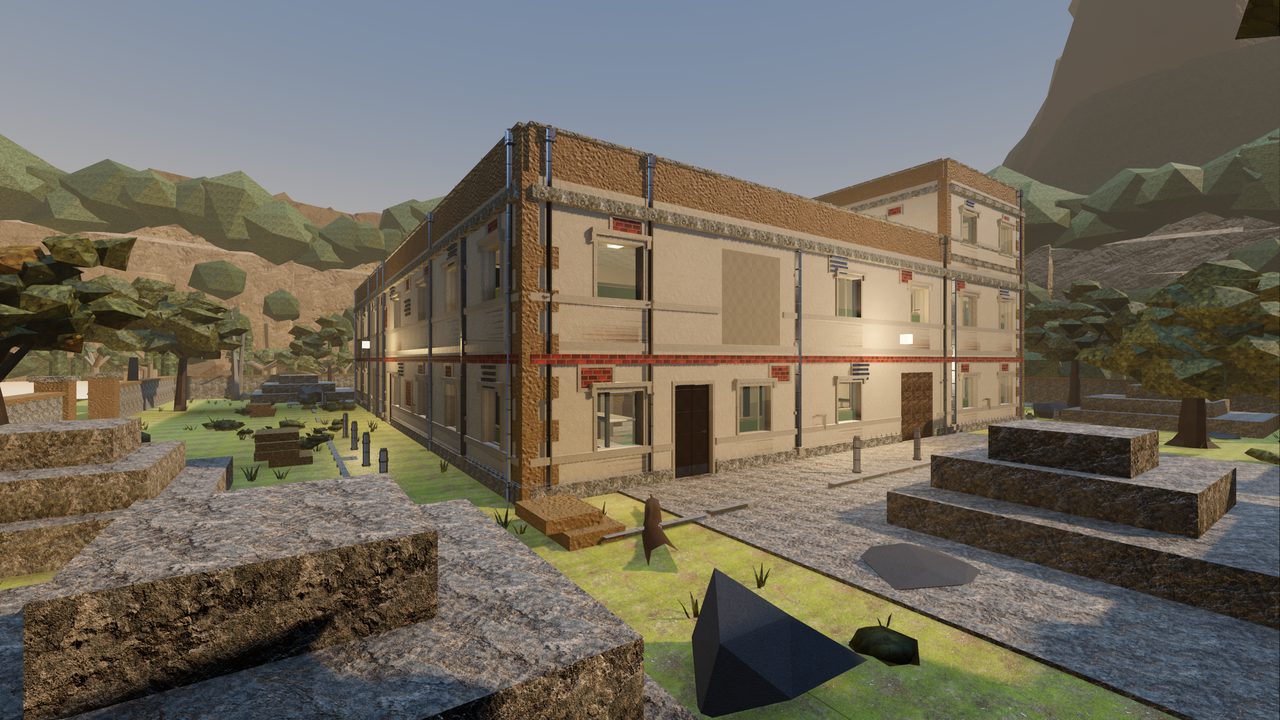
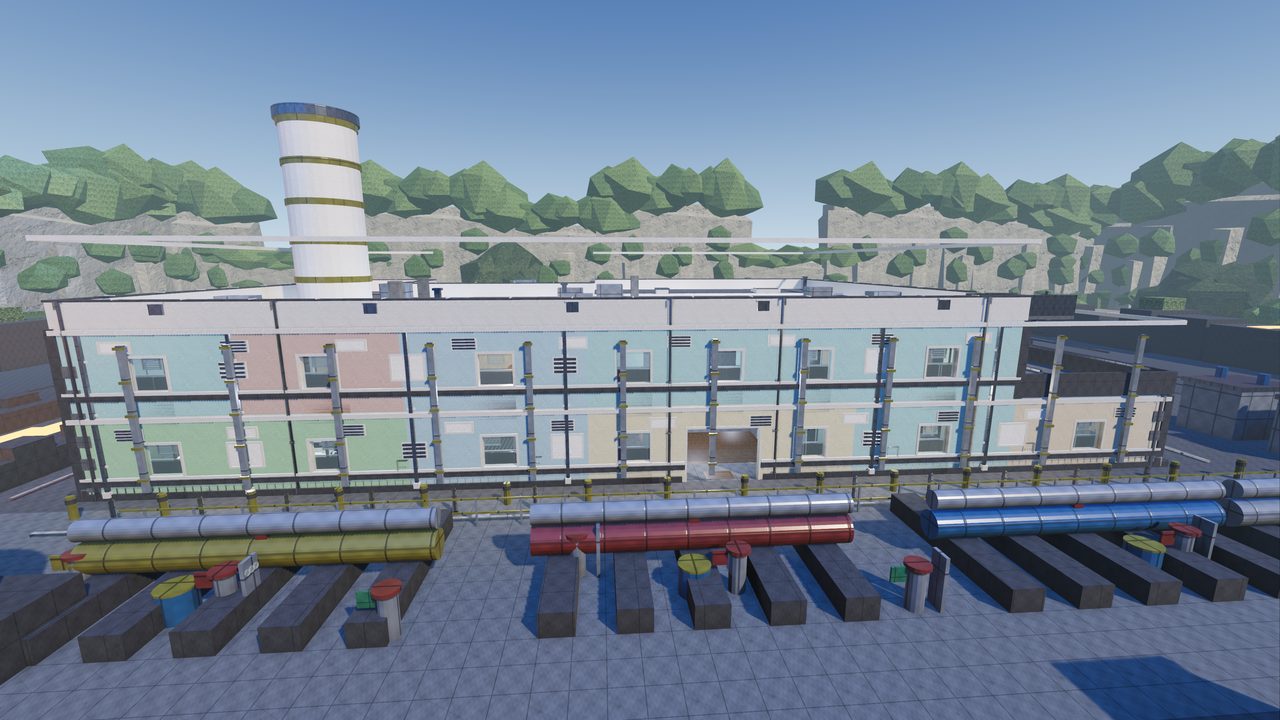
Cinderfell: the long two-storey face of a geothermal plant behind a run of large pipes, chimney at one end
Cinderfell — the plant's long face, with a run of pipework between the approach and the wall.
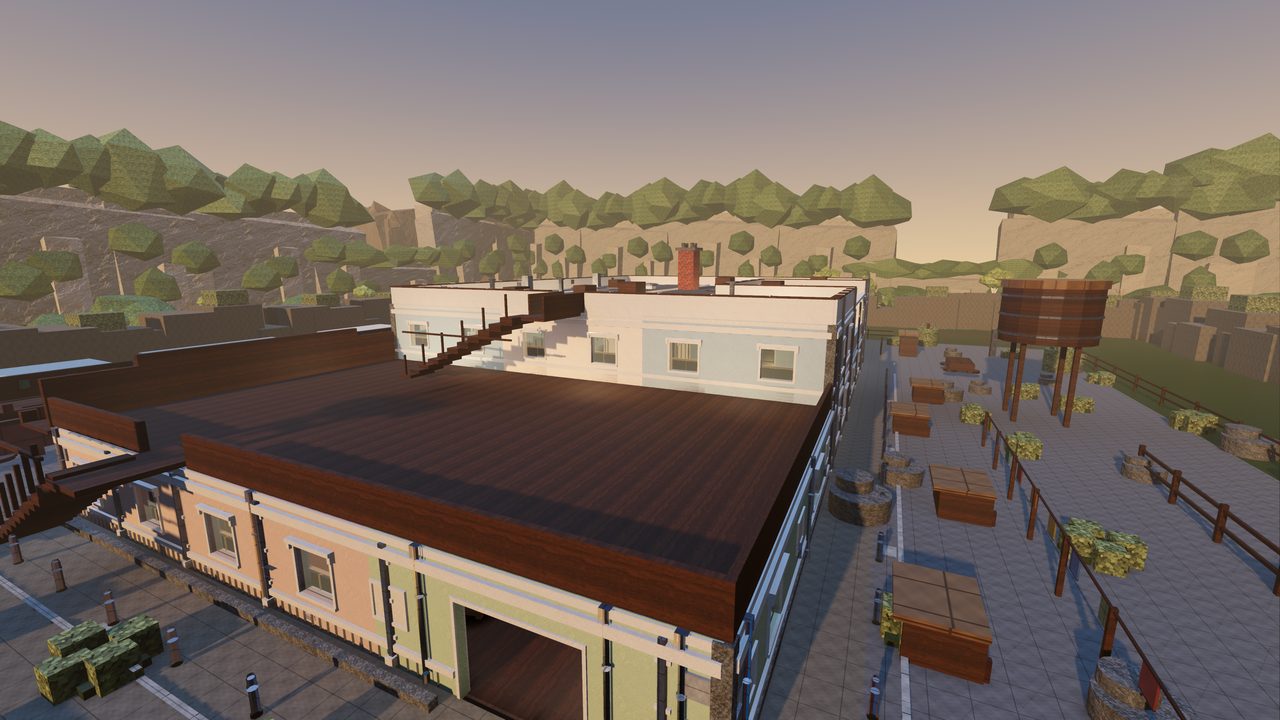
Dustwell: rooftops of a frontier town in low evening sun, water tower to one side, fenced yard behind
Dustwell — the frontier town at dusk: hotel roof, water tower, and the yard behind it.
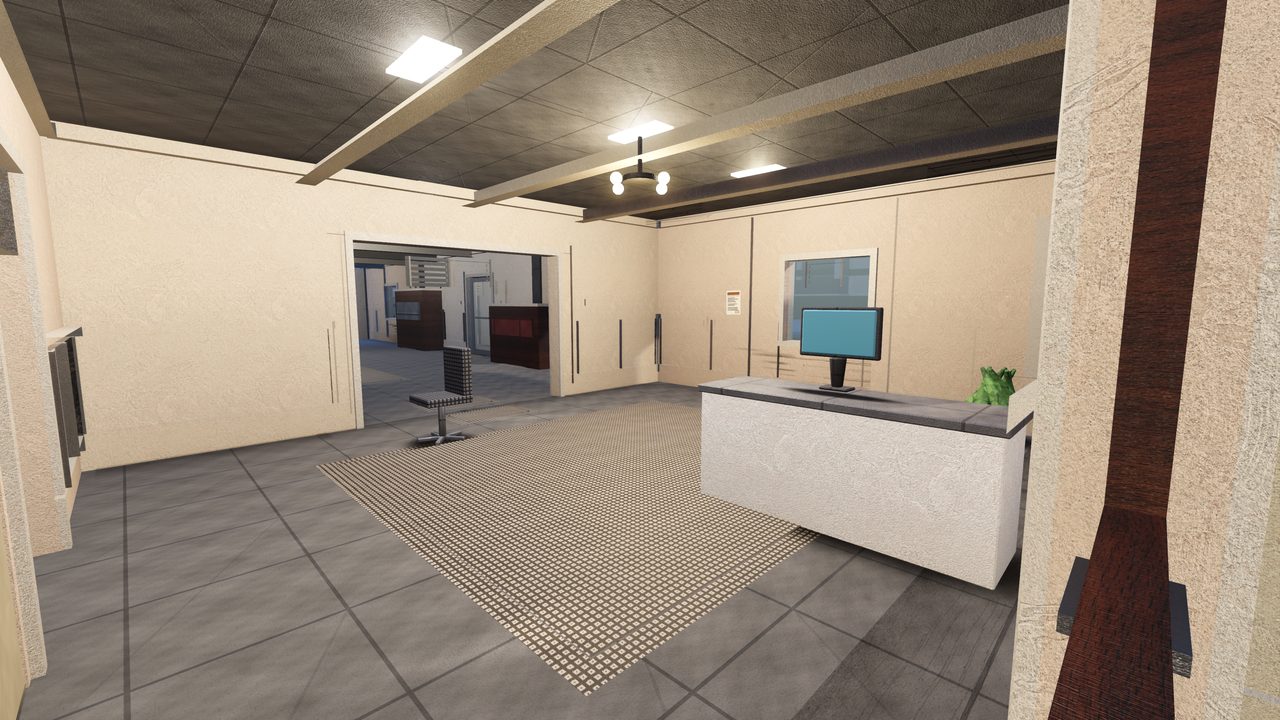
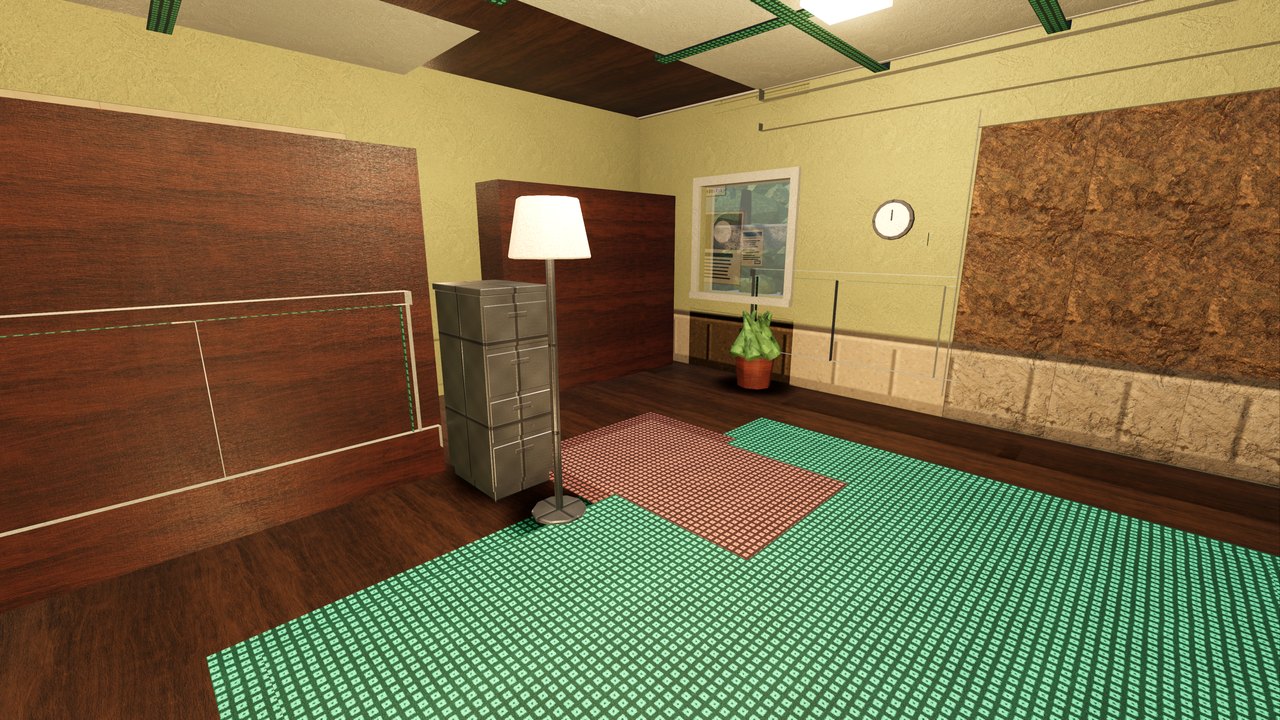
Ashfold: a panelled ground-floor room inside the estate house, with a standing lamp and a window onto the grounds
Ashfold — inside the estate house: a panelled ground-floor room, and a window onto the grounds.
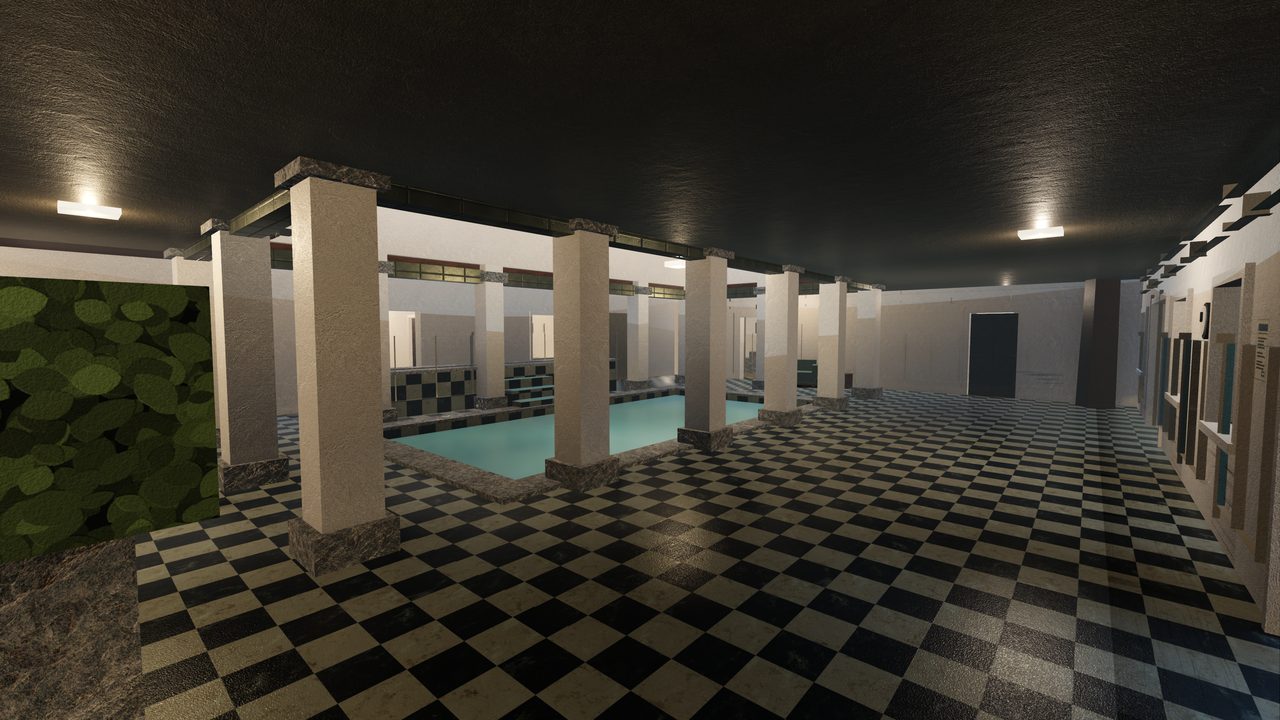
Saltmarch: the double-height bathing hall, a lit pool between square columns over a black-and-white chequered floor
Saltmarch — the bathing hall, off-season. A first-floor gallery rings it, and the plant rooms below it stand in walkable water.
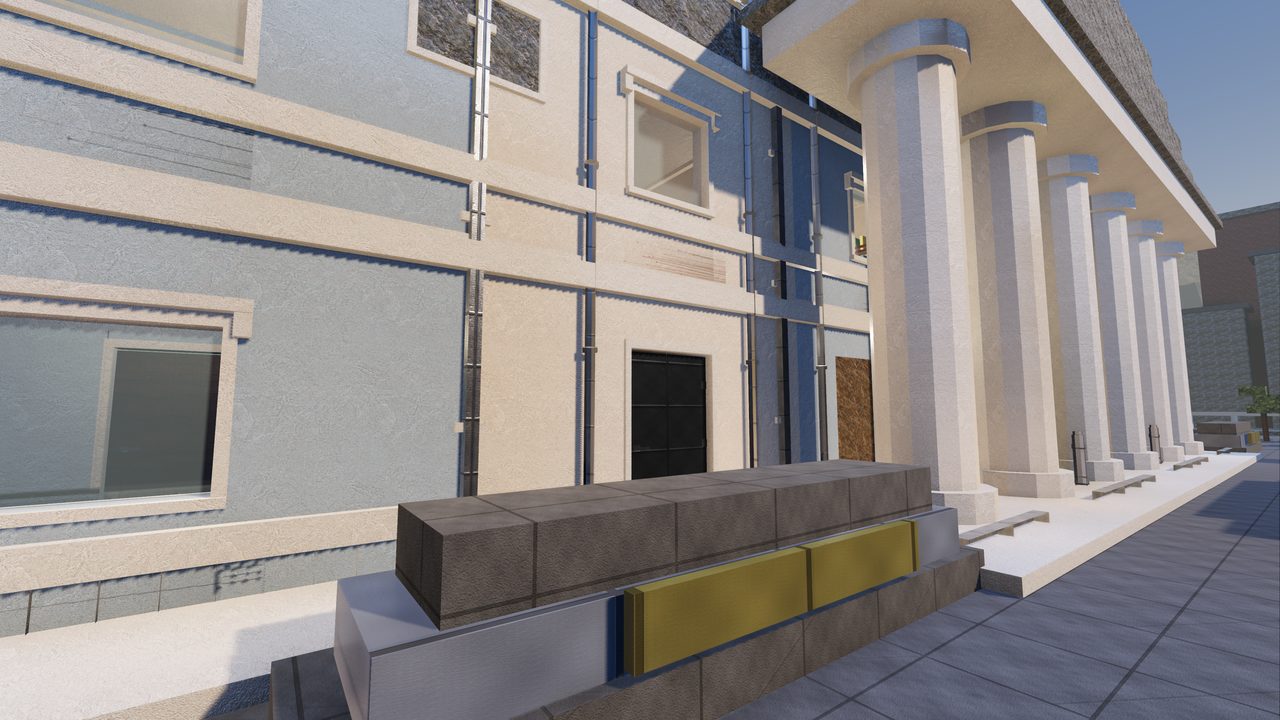
Verdigris: the colonnade along the front of the assembly building, tall pale columns carrying the portico
Verdigris — the colonnade across the front of the assembly building.
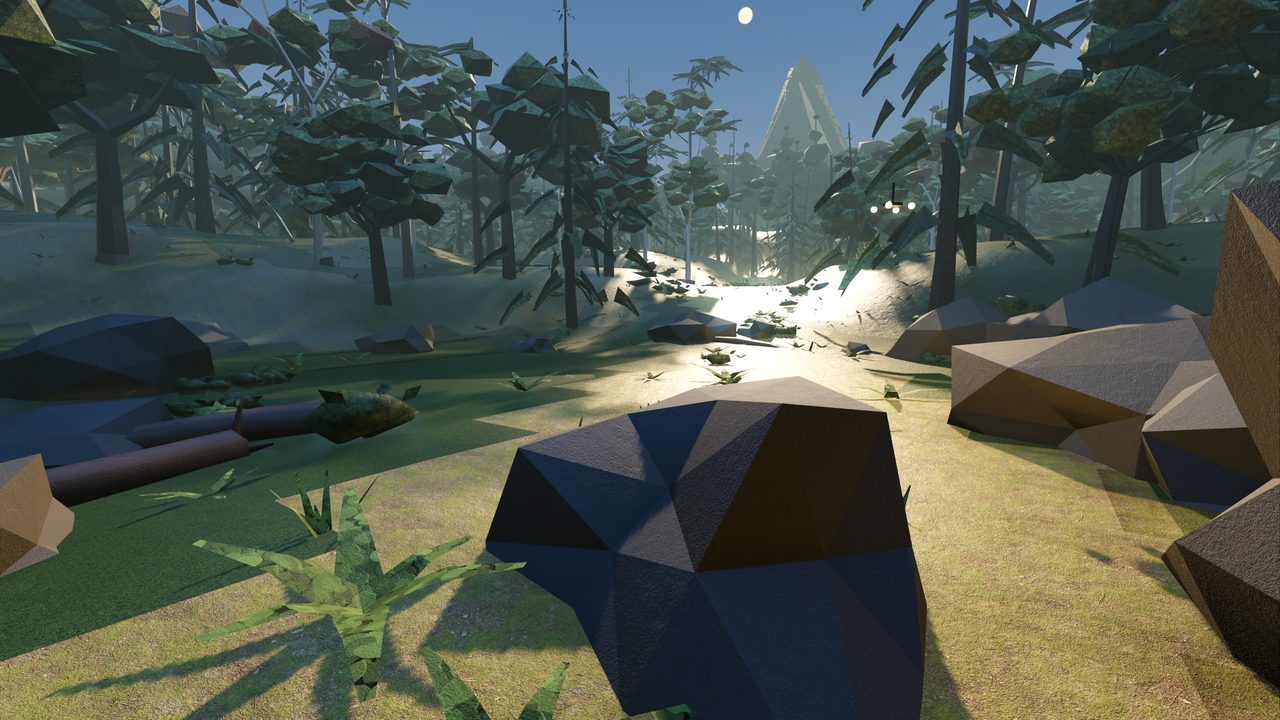
Stonehollow: a sunlit forest clearing, boulders and fallen trunks among old-growth trees on a hillside
Stonehollow — the Hollow. No walls and no roofs on this one: cover is boulders, root plates and fallen trunks.
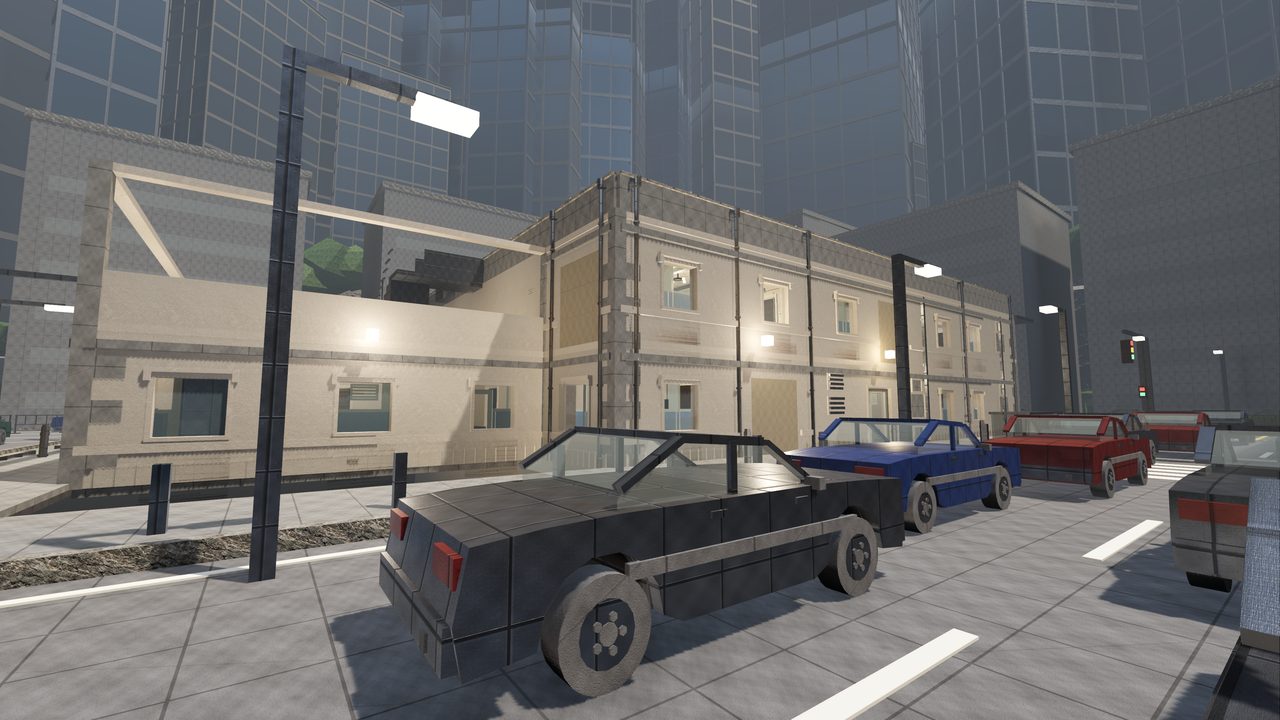
Gridlock: parked cars along the kerb outside the traffic-control block, city towers rising behind it
Gridlock — the street outside the traffic-control block, with the city stacked up behind it.
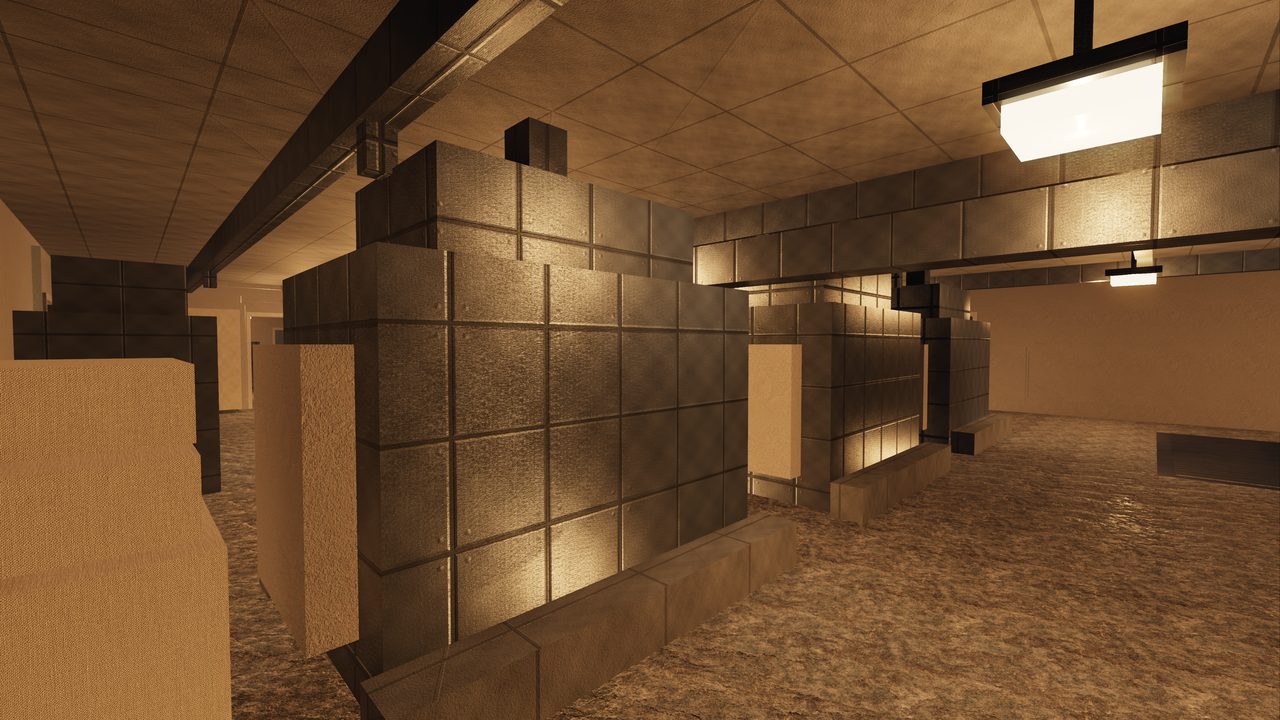
Chaffmill: the roller floor inside the derelict flour mill at night, lit by hanging lamps over a run of milling machinery
Chaffmill — the mill's roller floor after dark, one storey of a three-storey Outbreak circuit.

Every frame here is an engine capture, cropped to the page's shape and downscaled to fit it. Nothing is otherwise altered.

In ultra high definition

Captured at 3840×2160 through an offscreen render at full scale, at the game's top shipped preset. These are lossless frames of a live session, not marketing renders — the same frames the clips above are cut from.
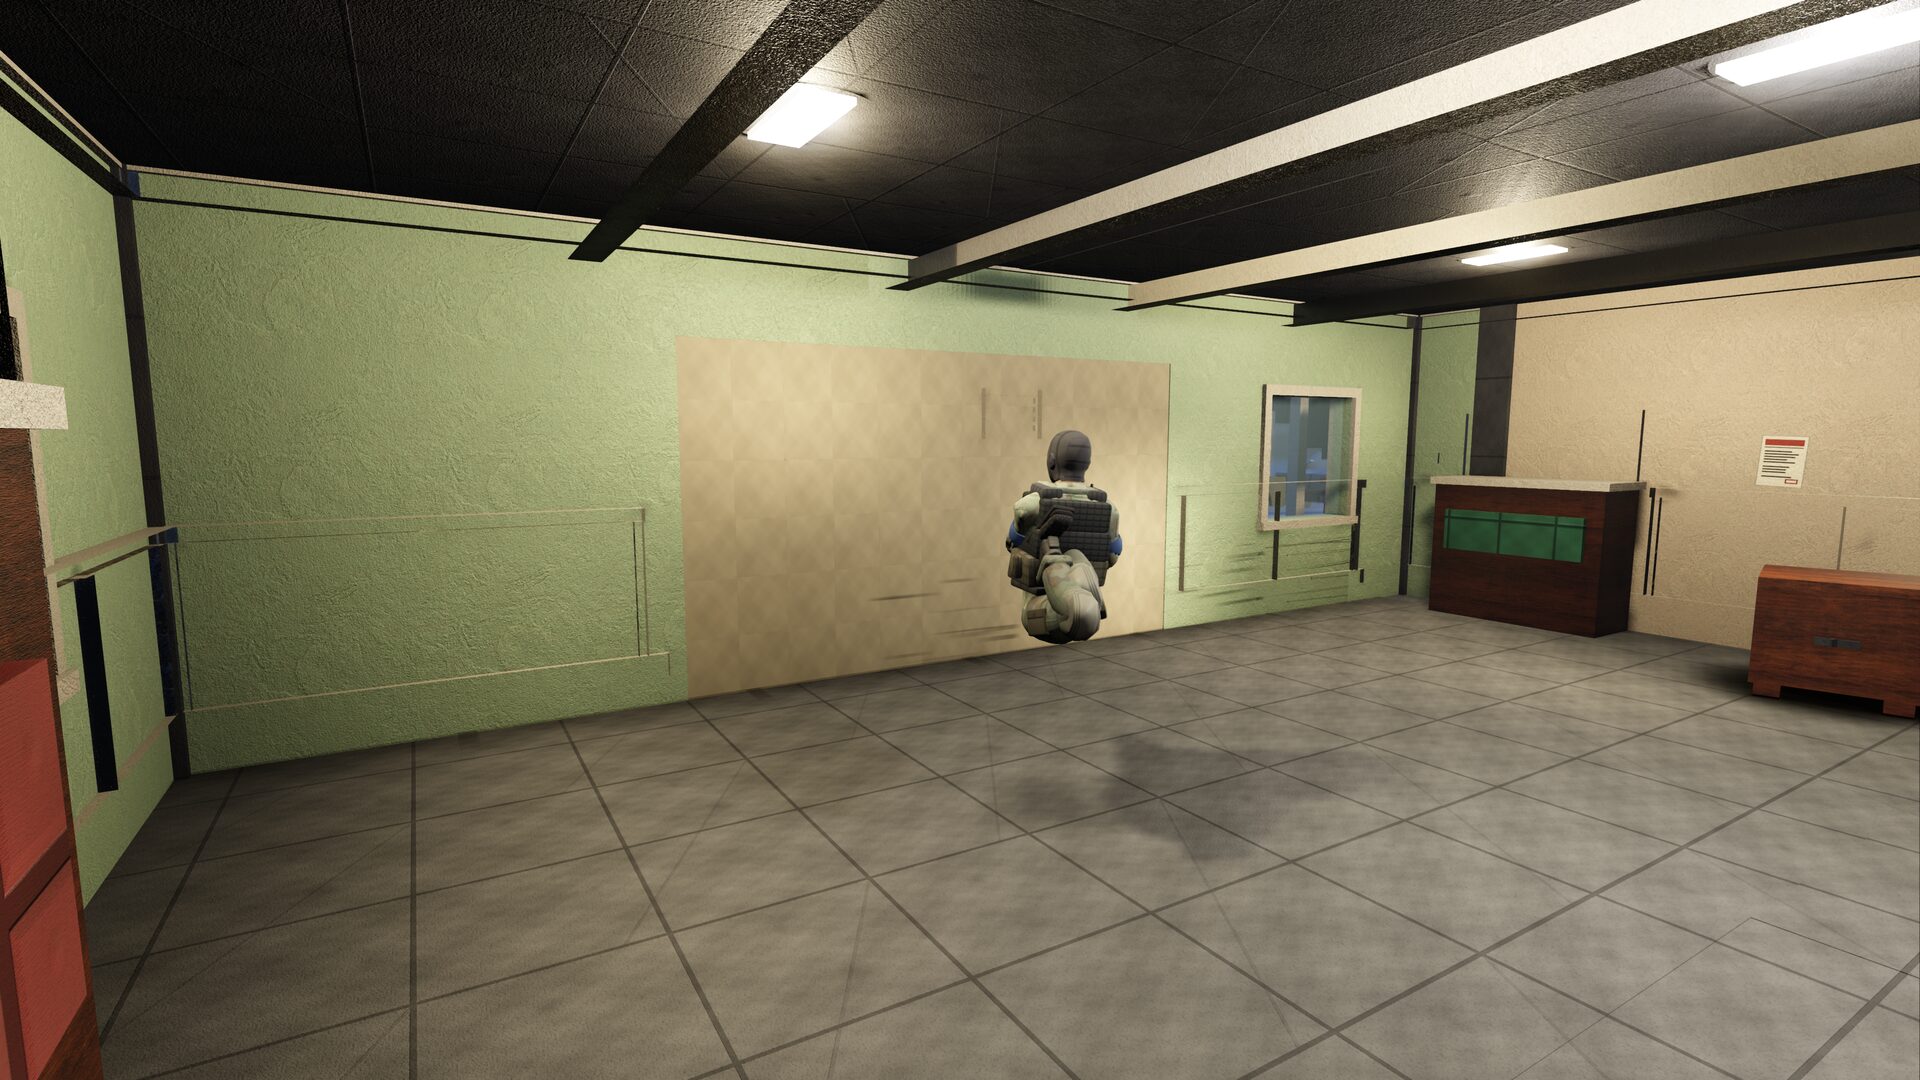
Approach: the operator crosses the teller hall toward the wall he is about to open.
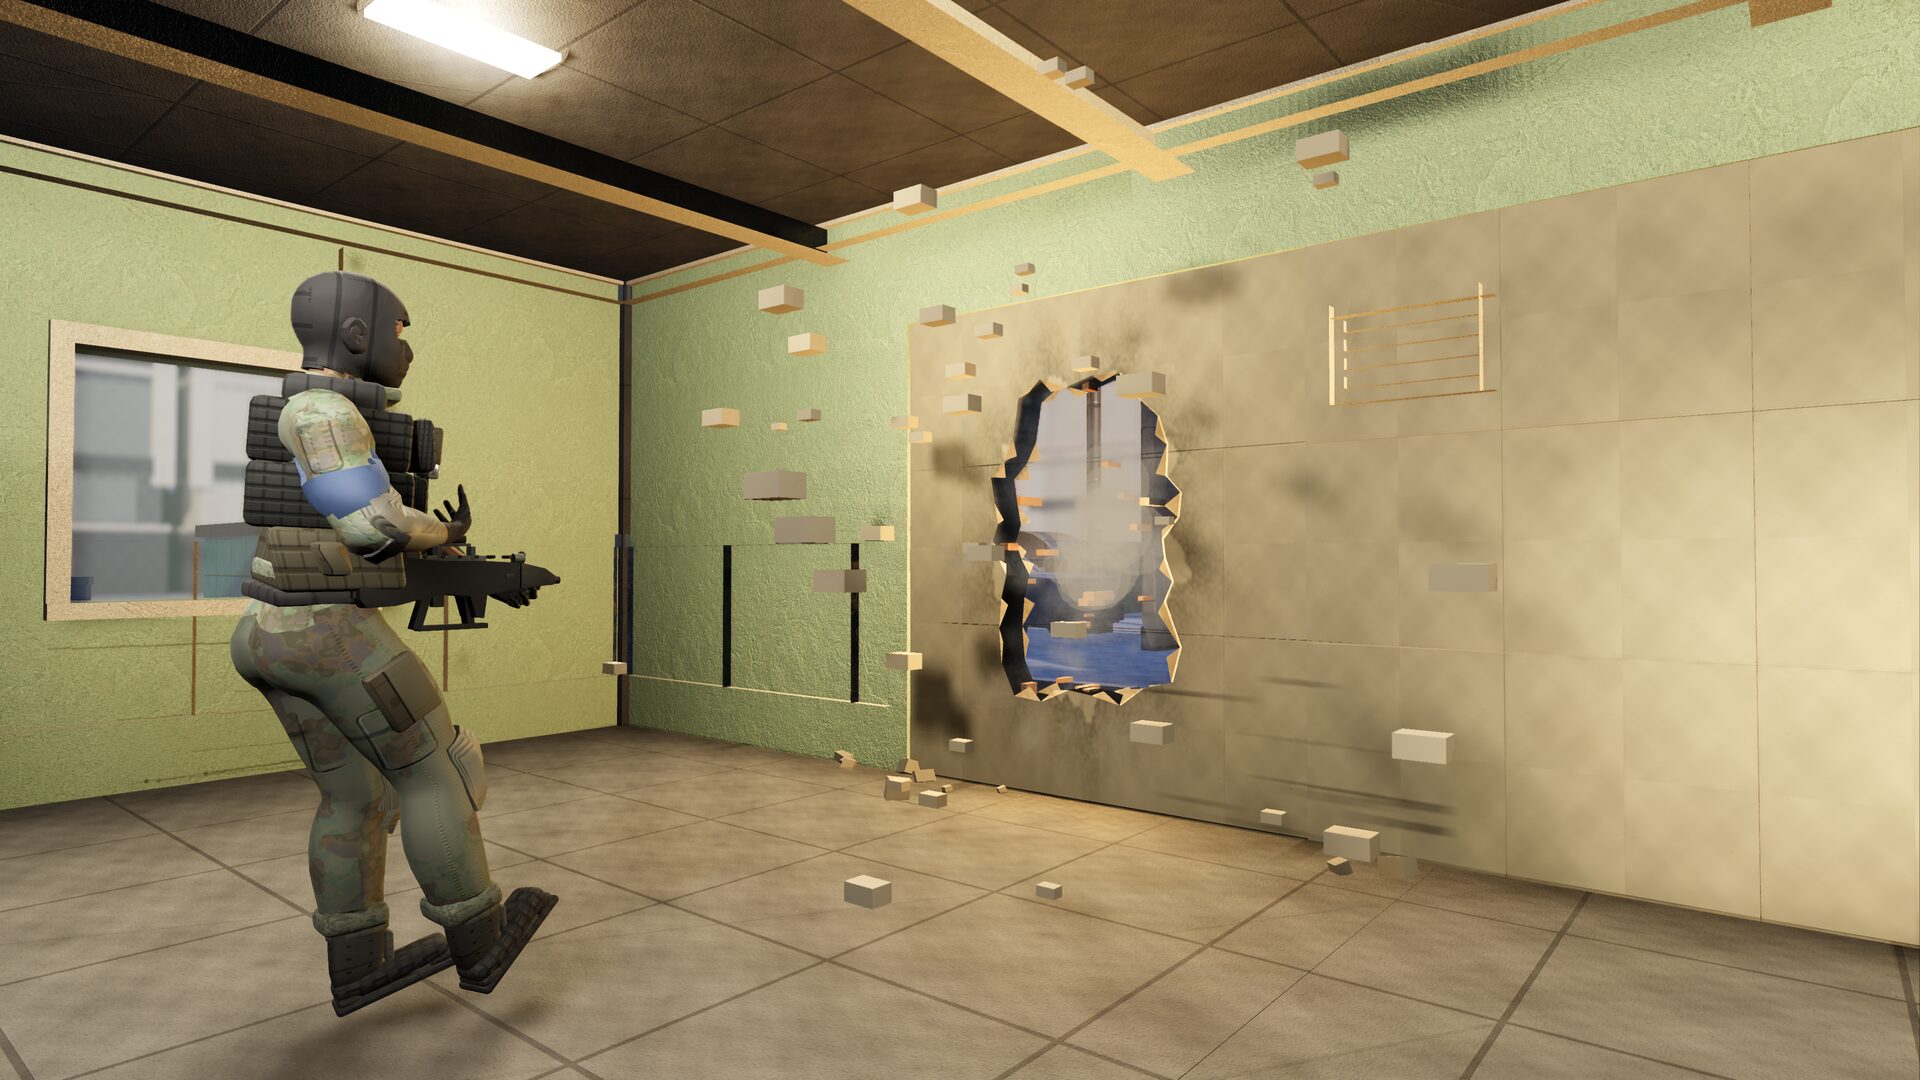
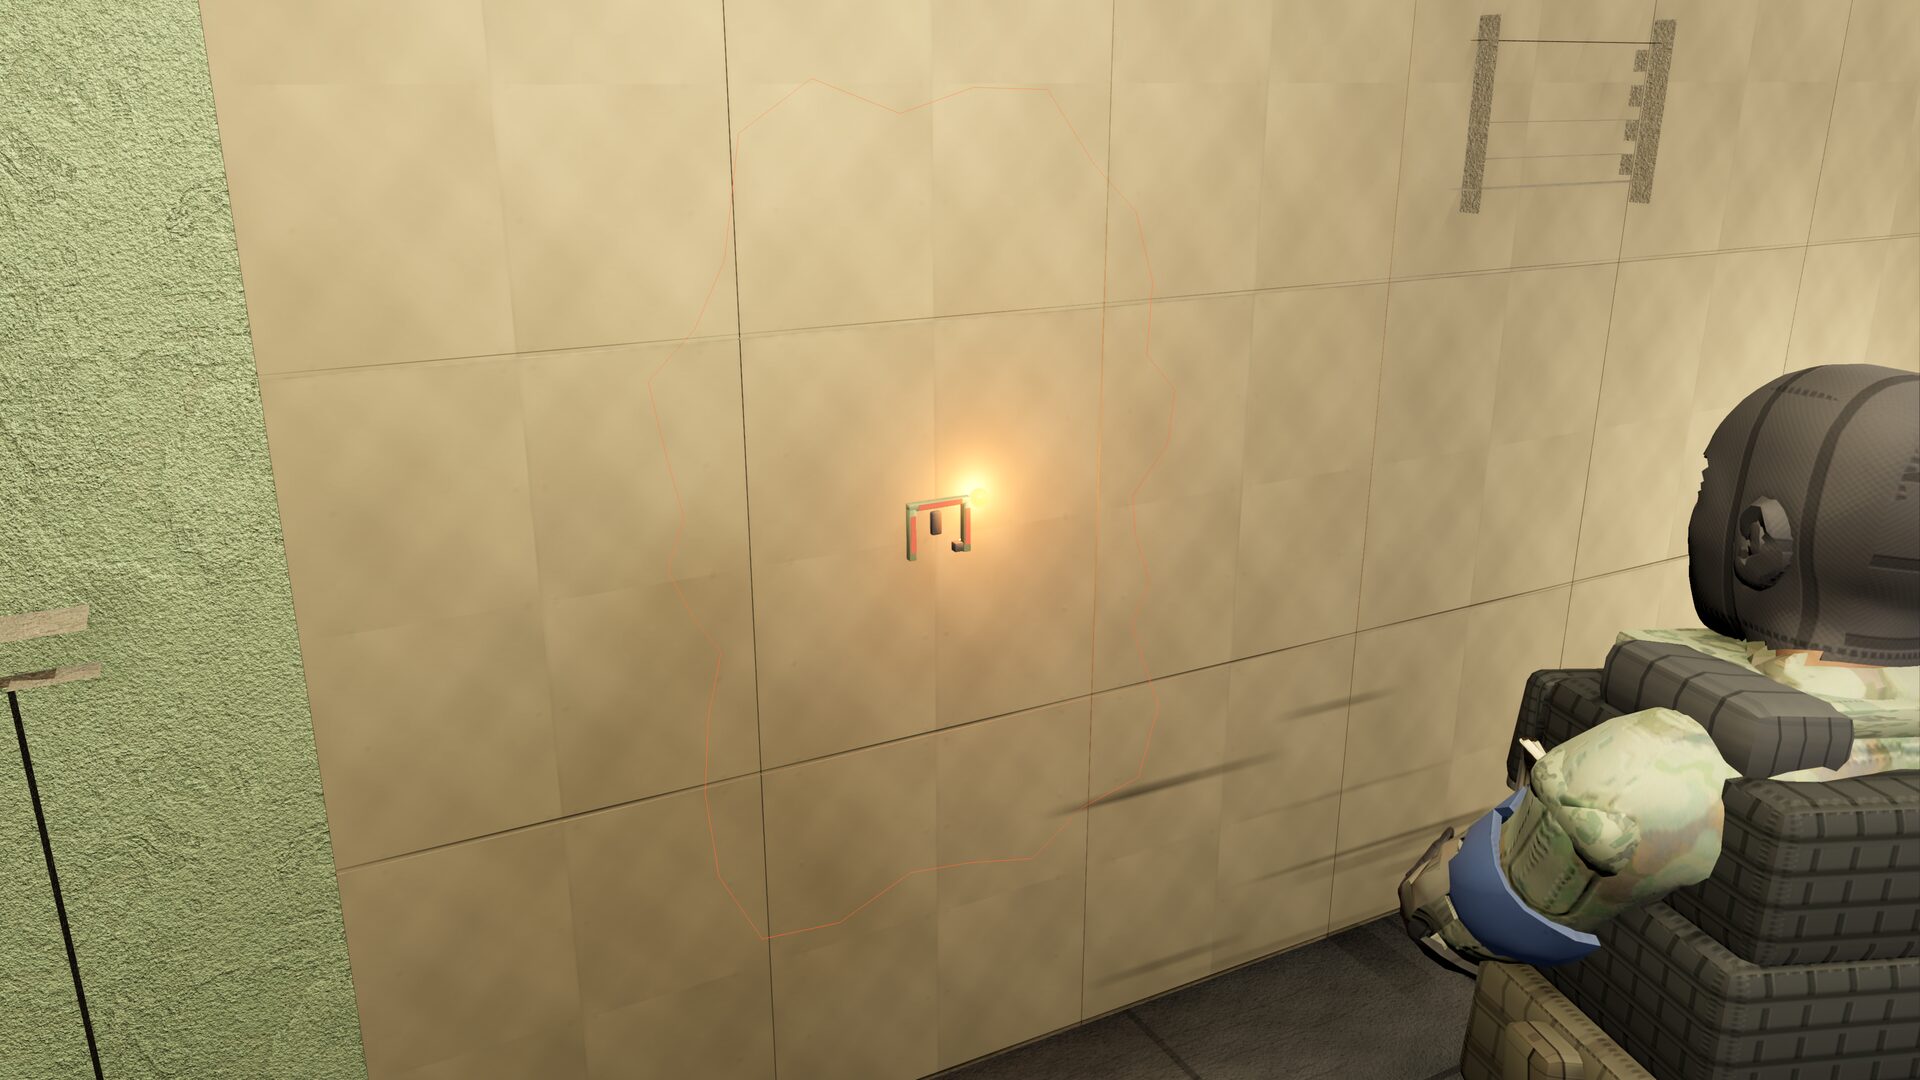
The charge is set and lit, the breach outline sprayed on the panel, the operator backing off.
The wall opens — plaster still in the air, and the operator already moving on the hole.
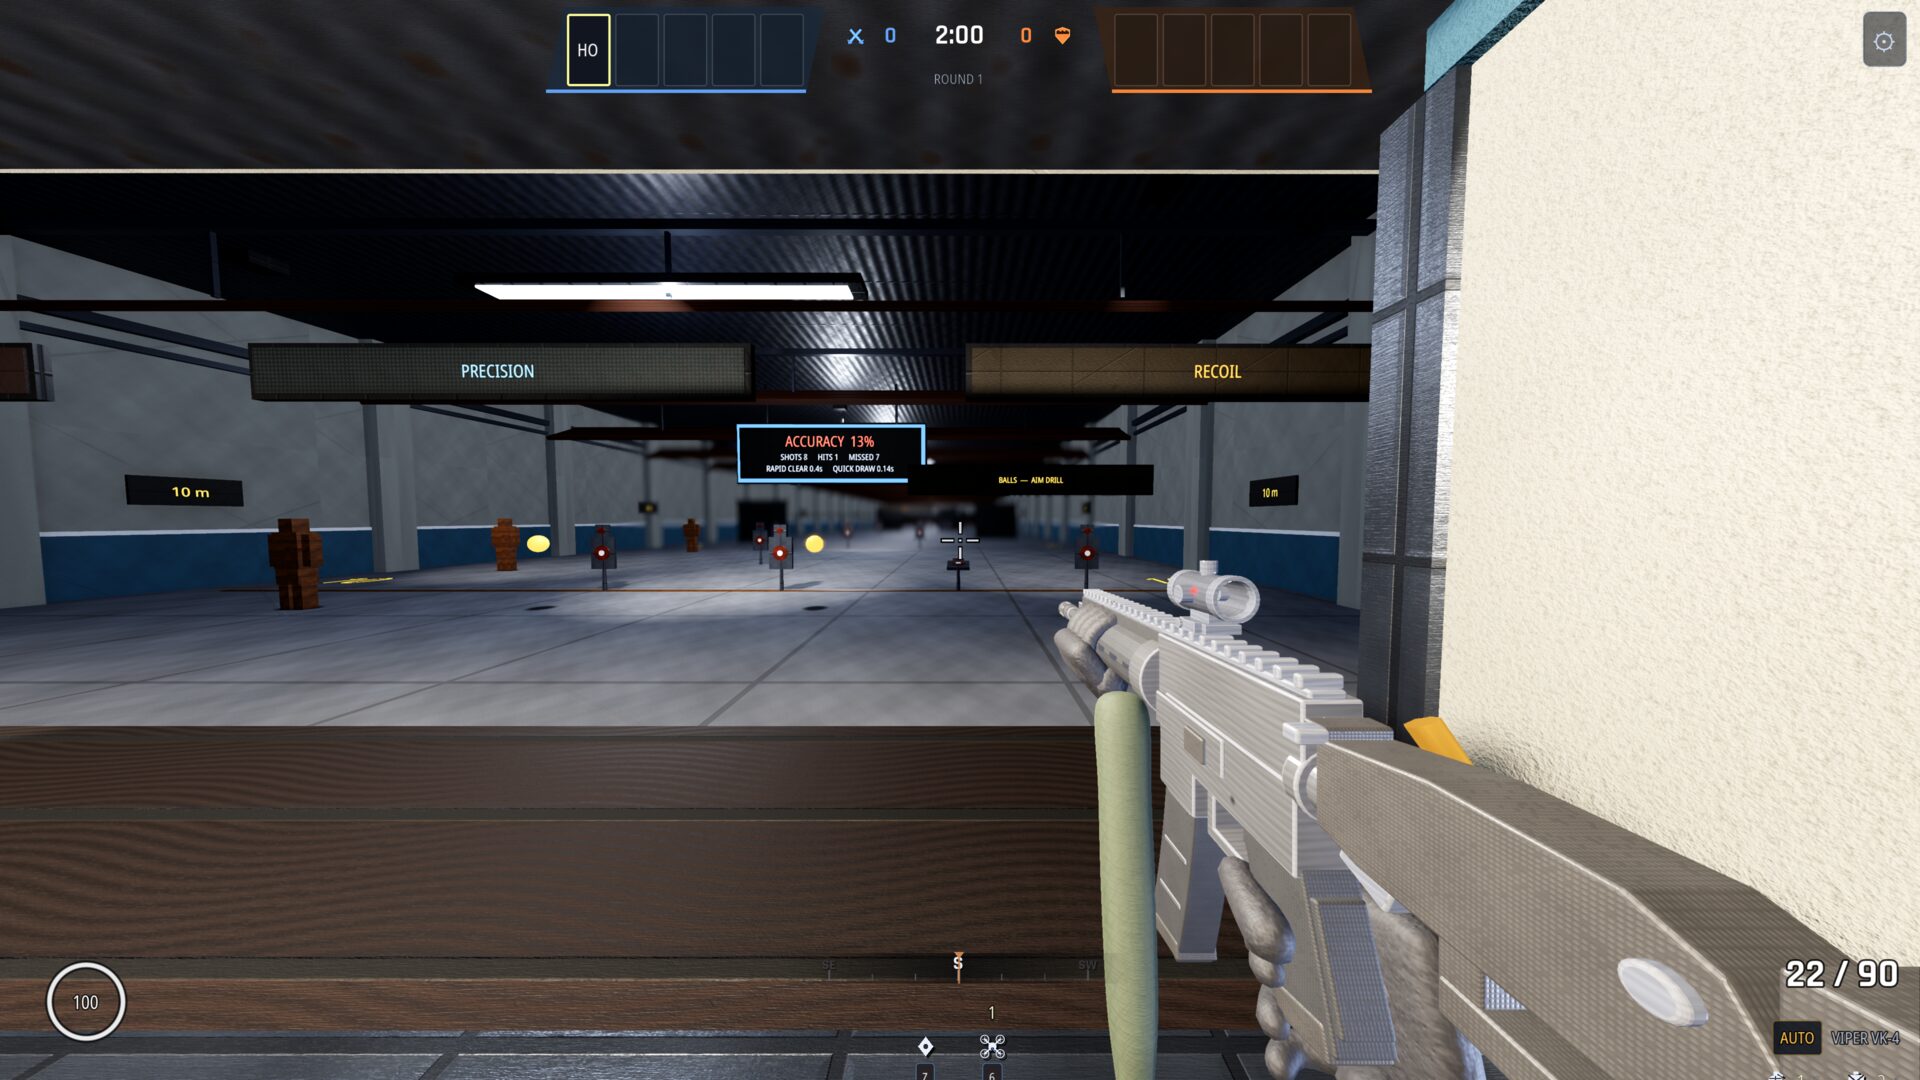
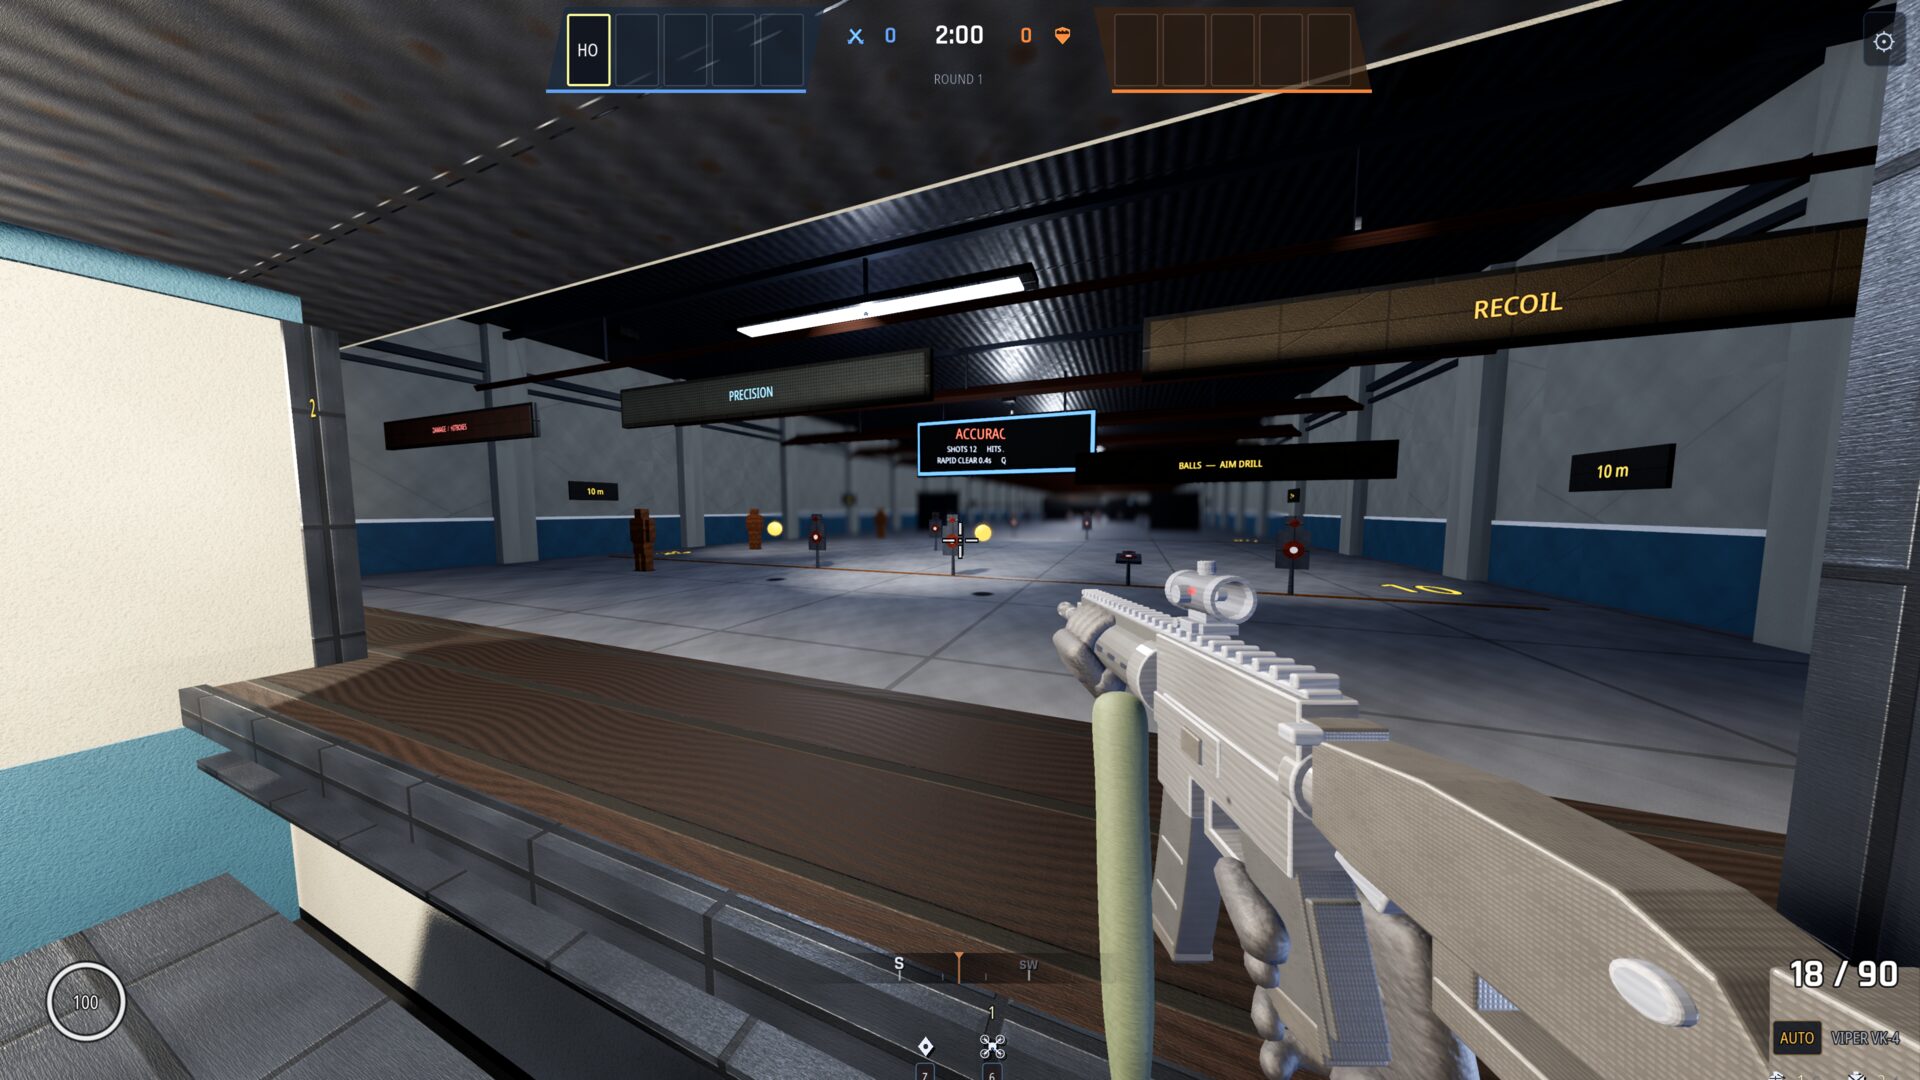
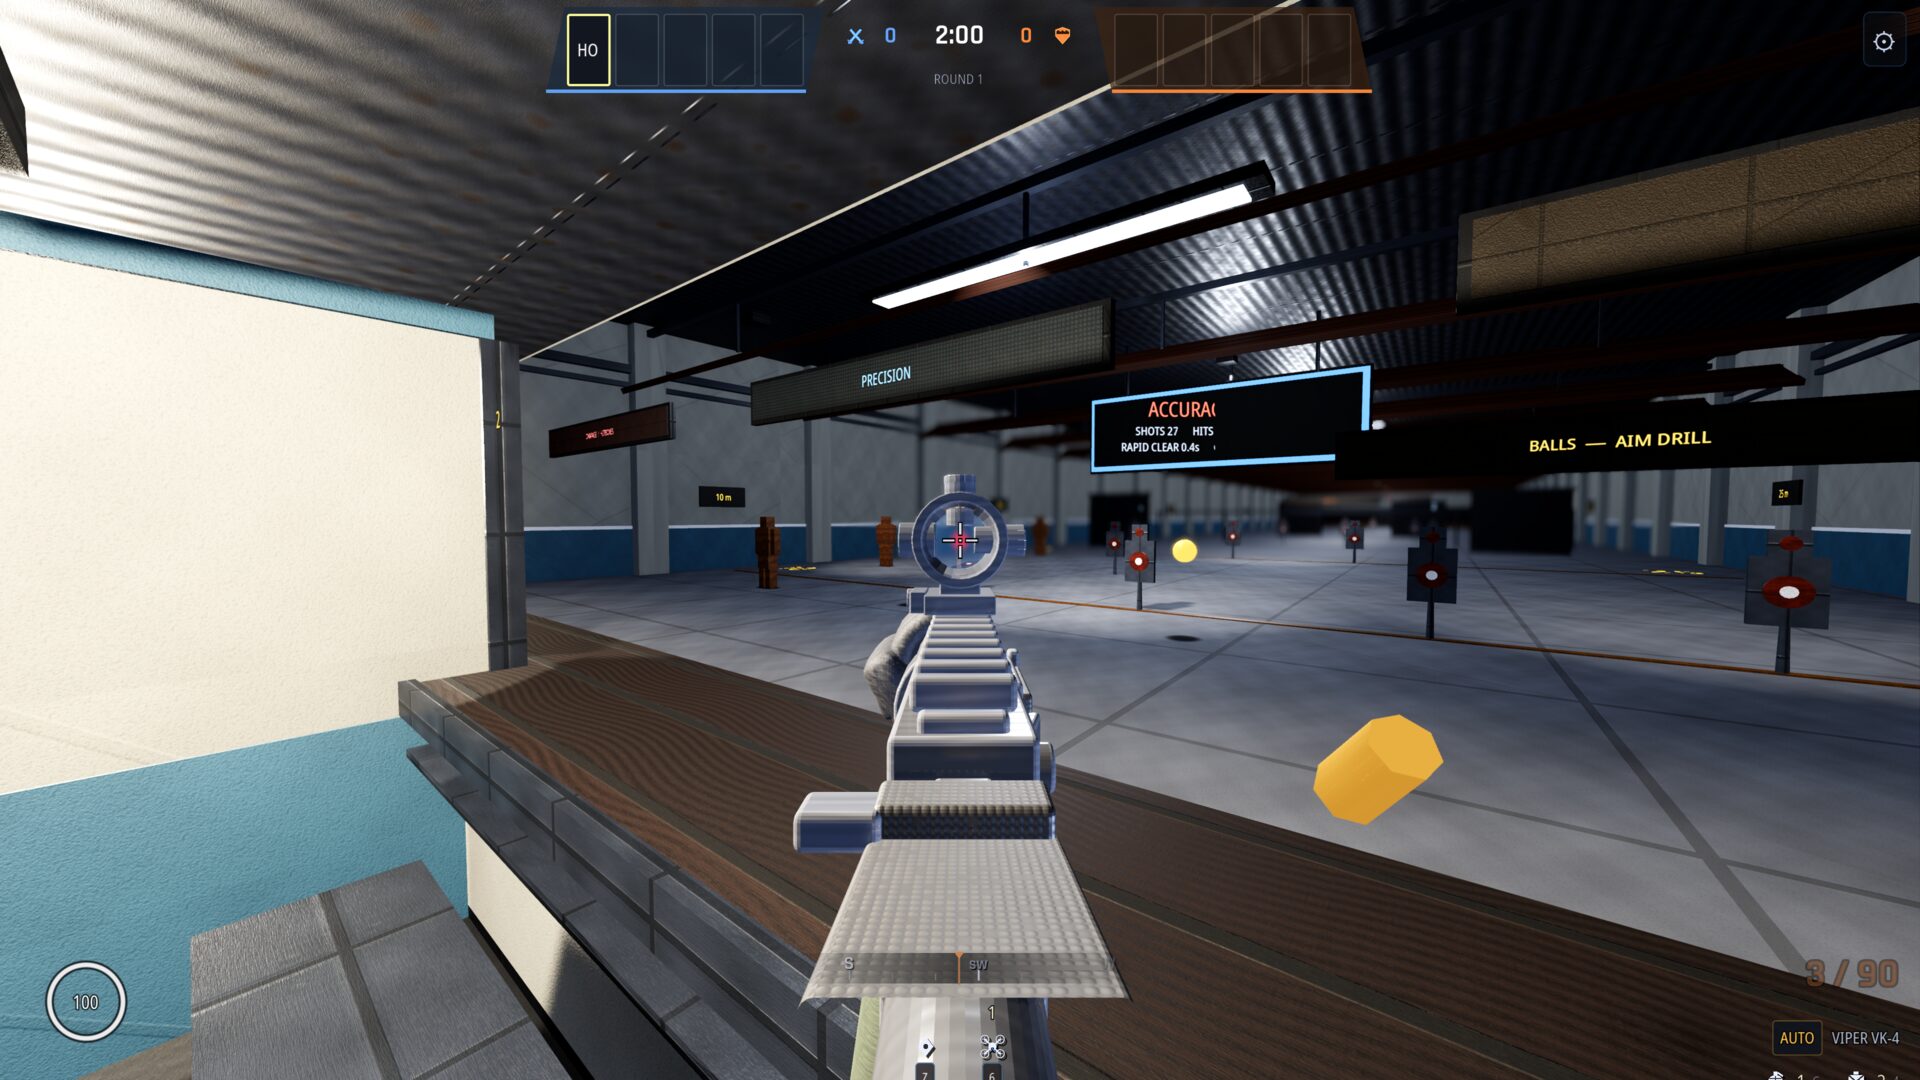
Down the lane at the indoor range, reactive steel at 10 m.
Between drills at the indoor range, the rifle carried low and the lane empty ahead.
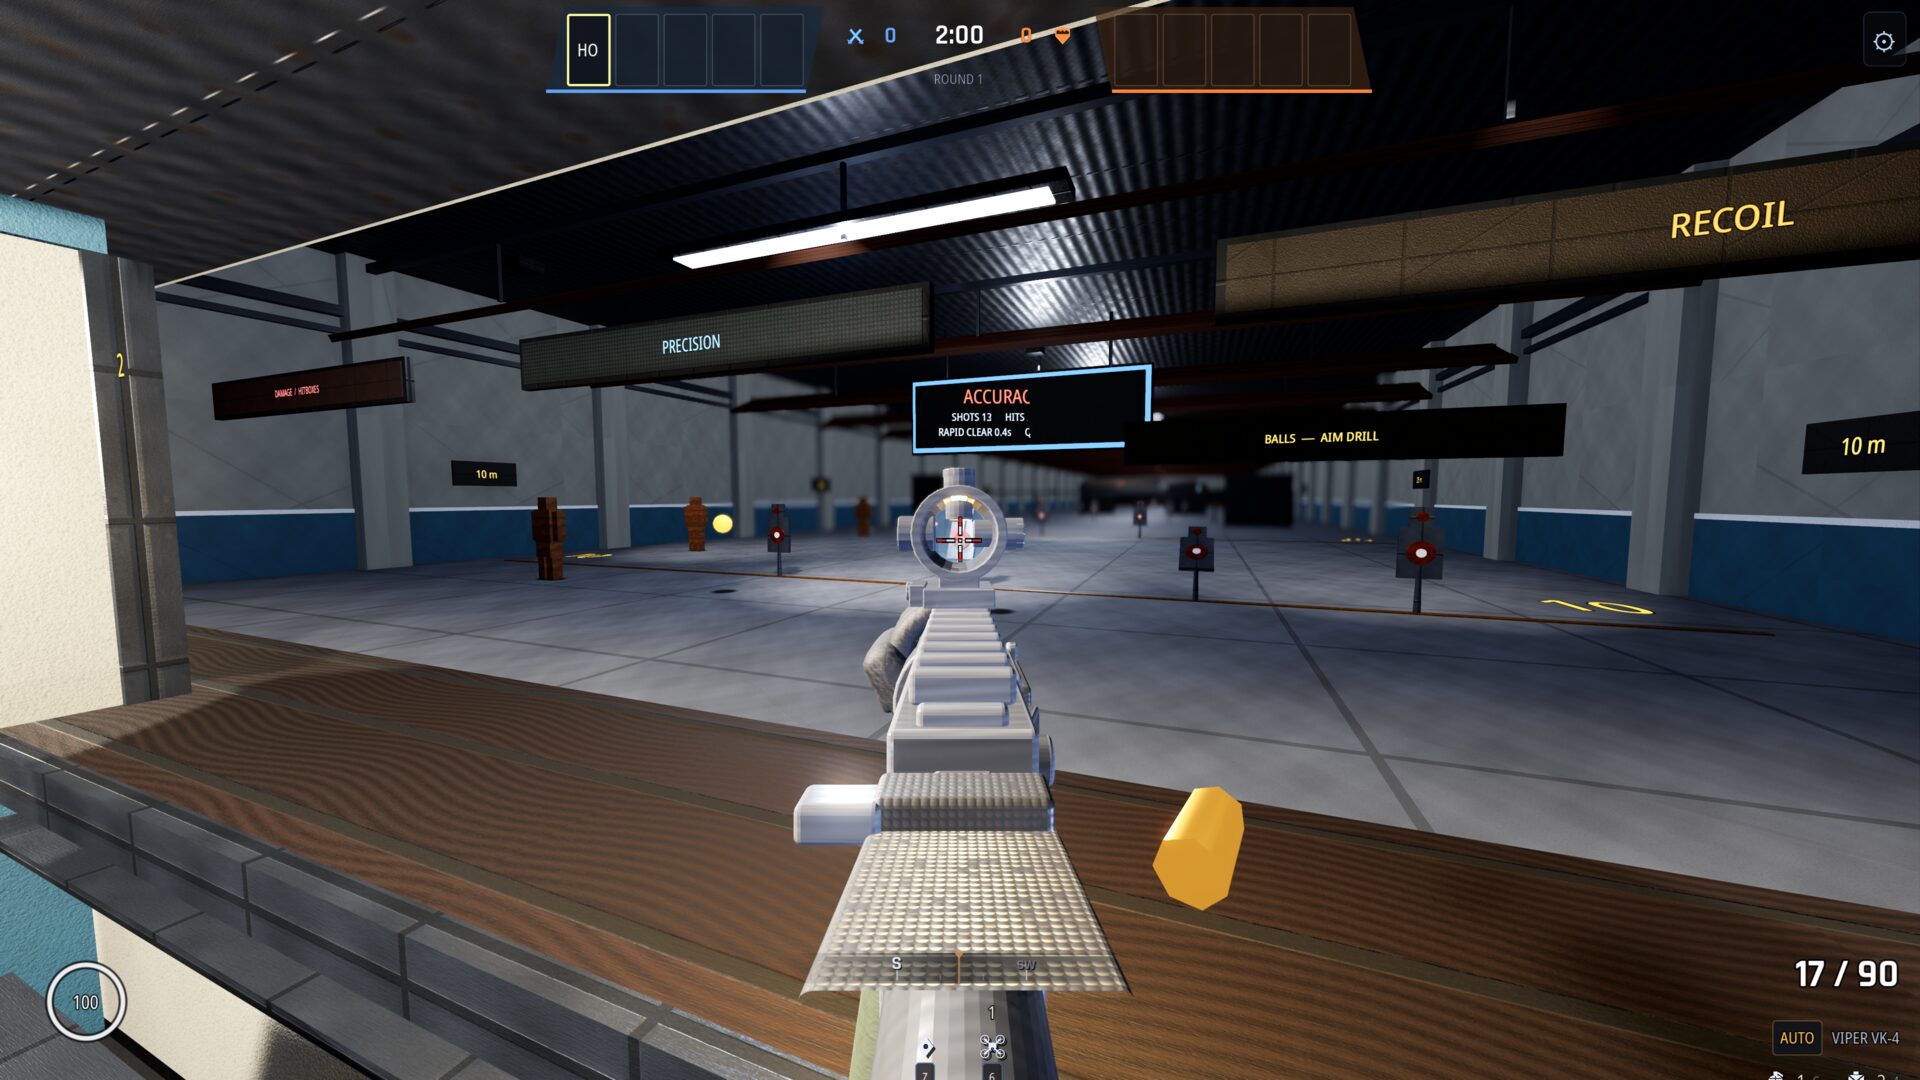
The shot breaks — brass clear of the ejection port, the sight still on the lane.
Mid-burst at the indoor range: the sight holds on the lane with the spent case still in the air.
Holding the lane as the horde presses the barricade.
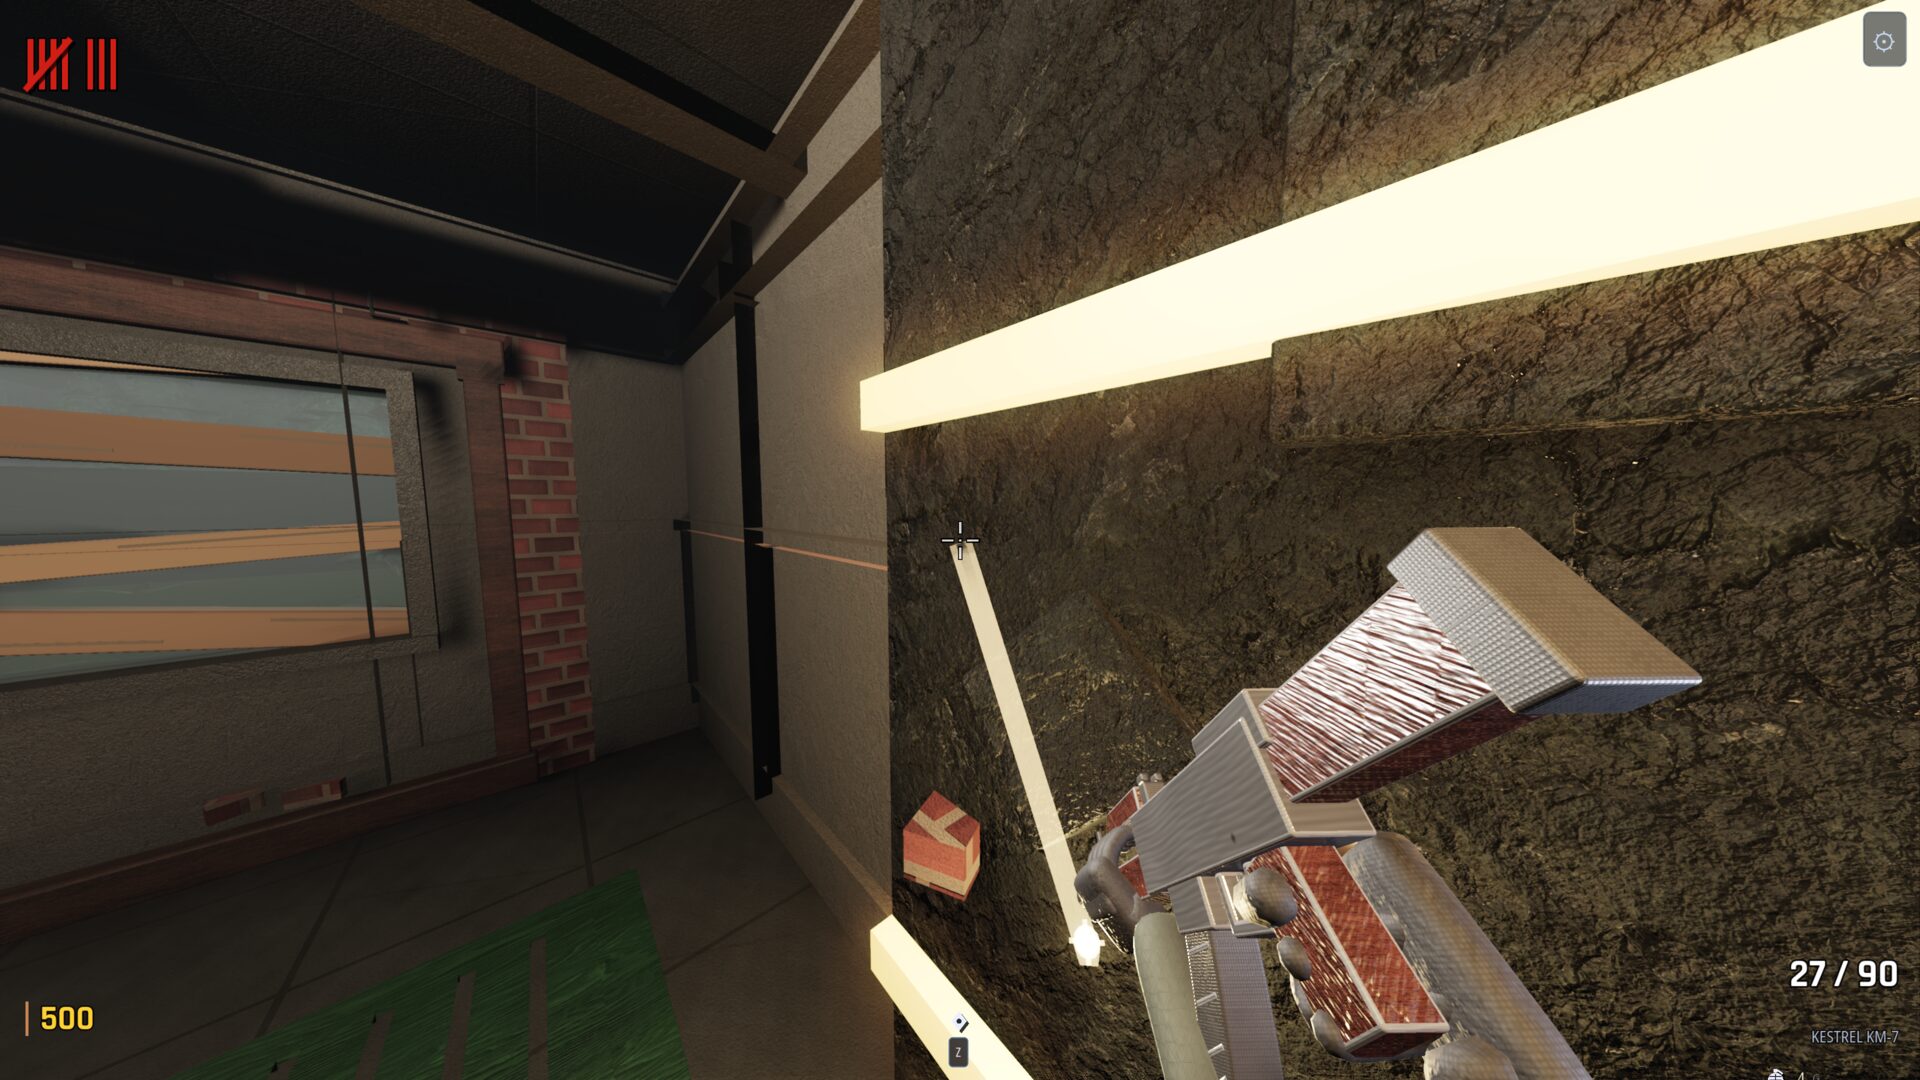
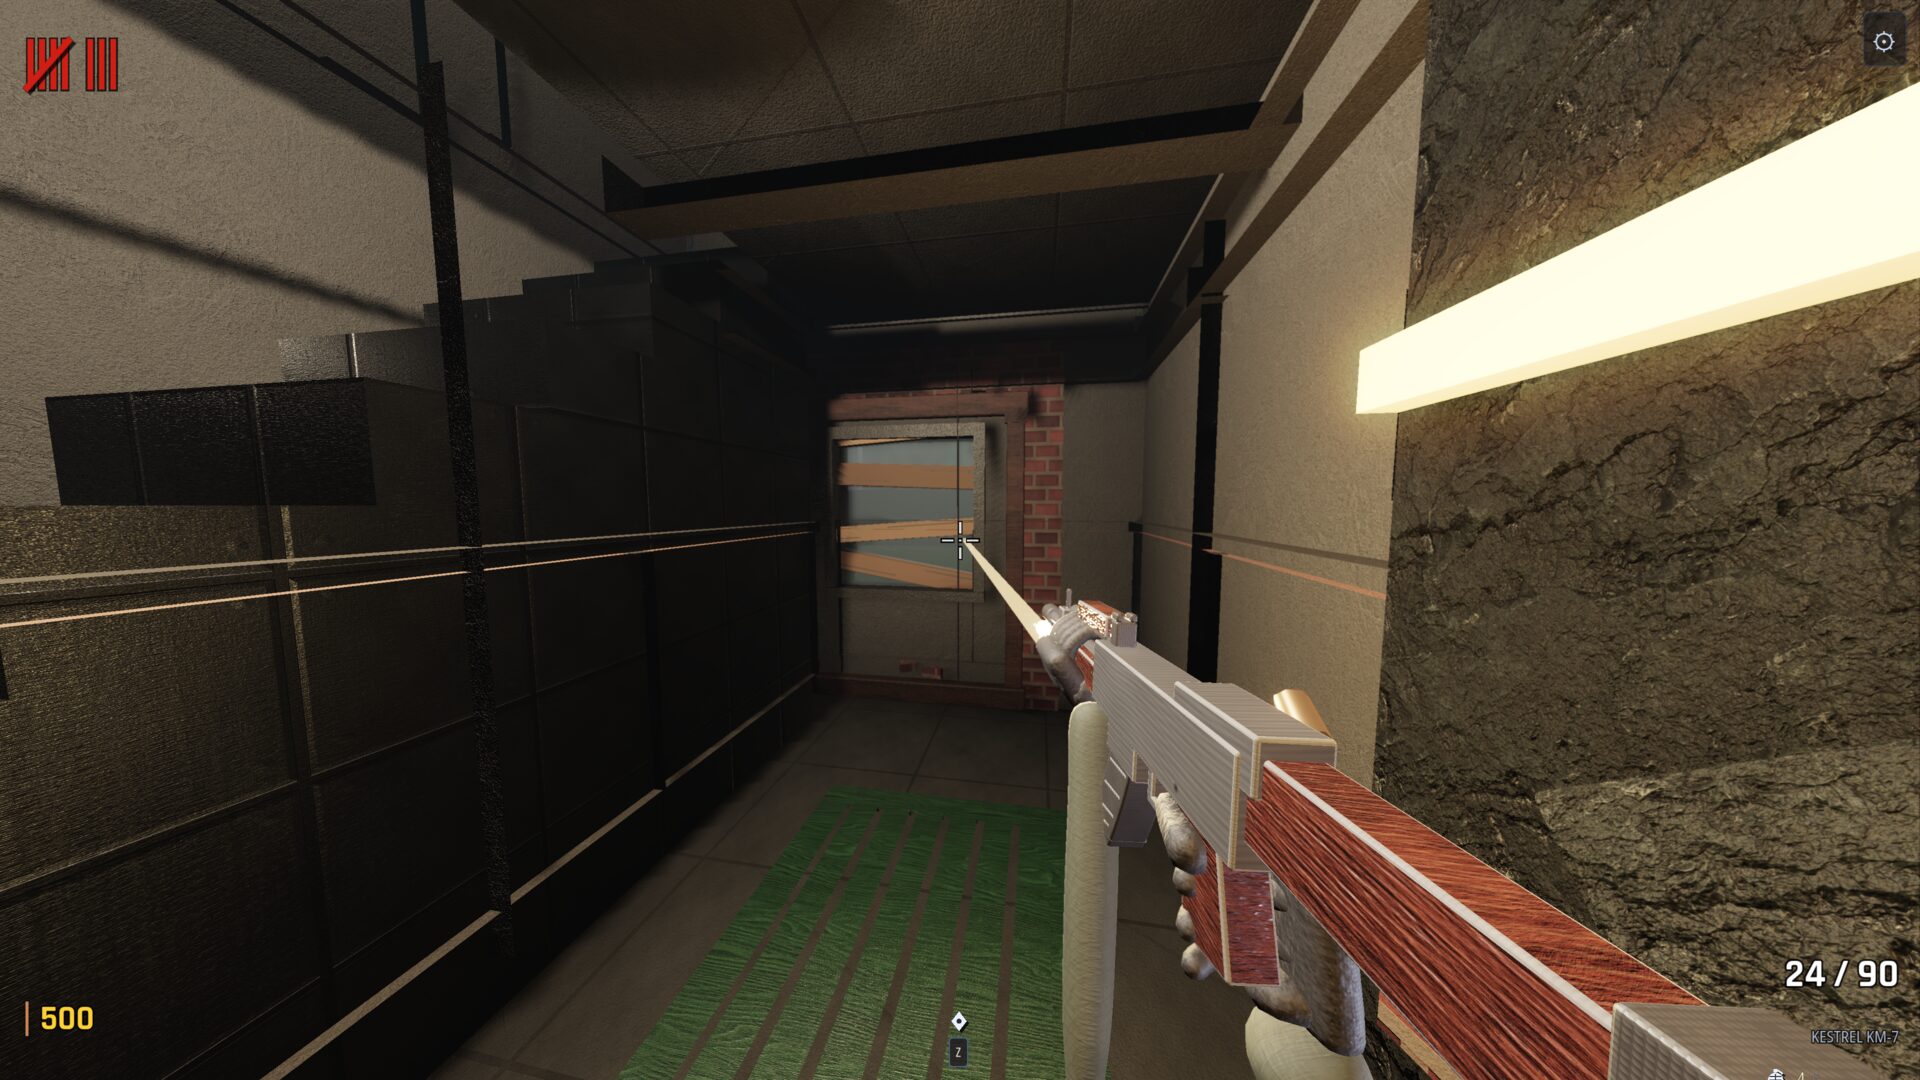
Firing into the dark on Emberkiln.
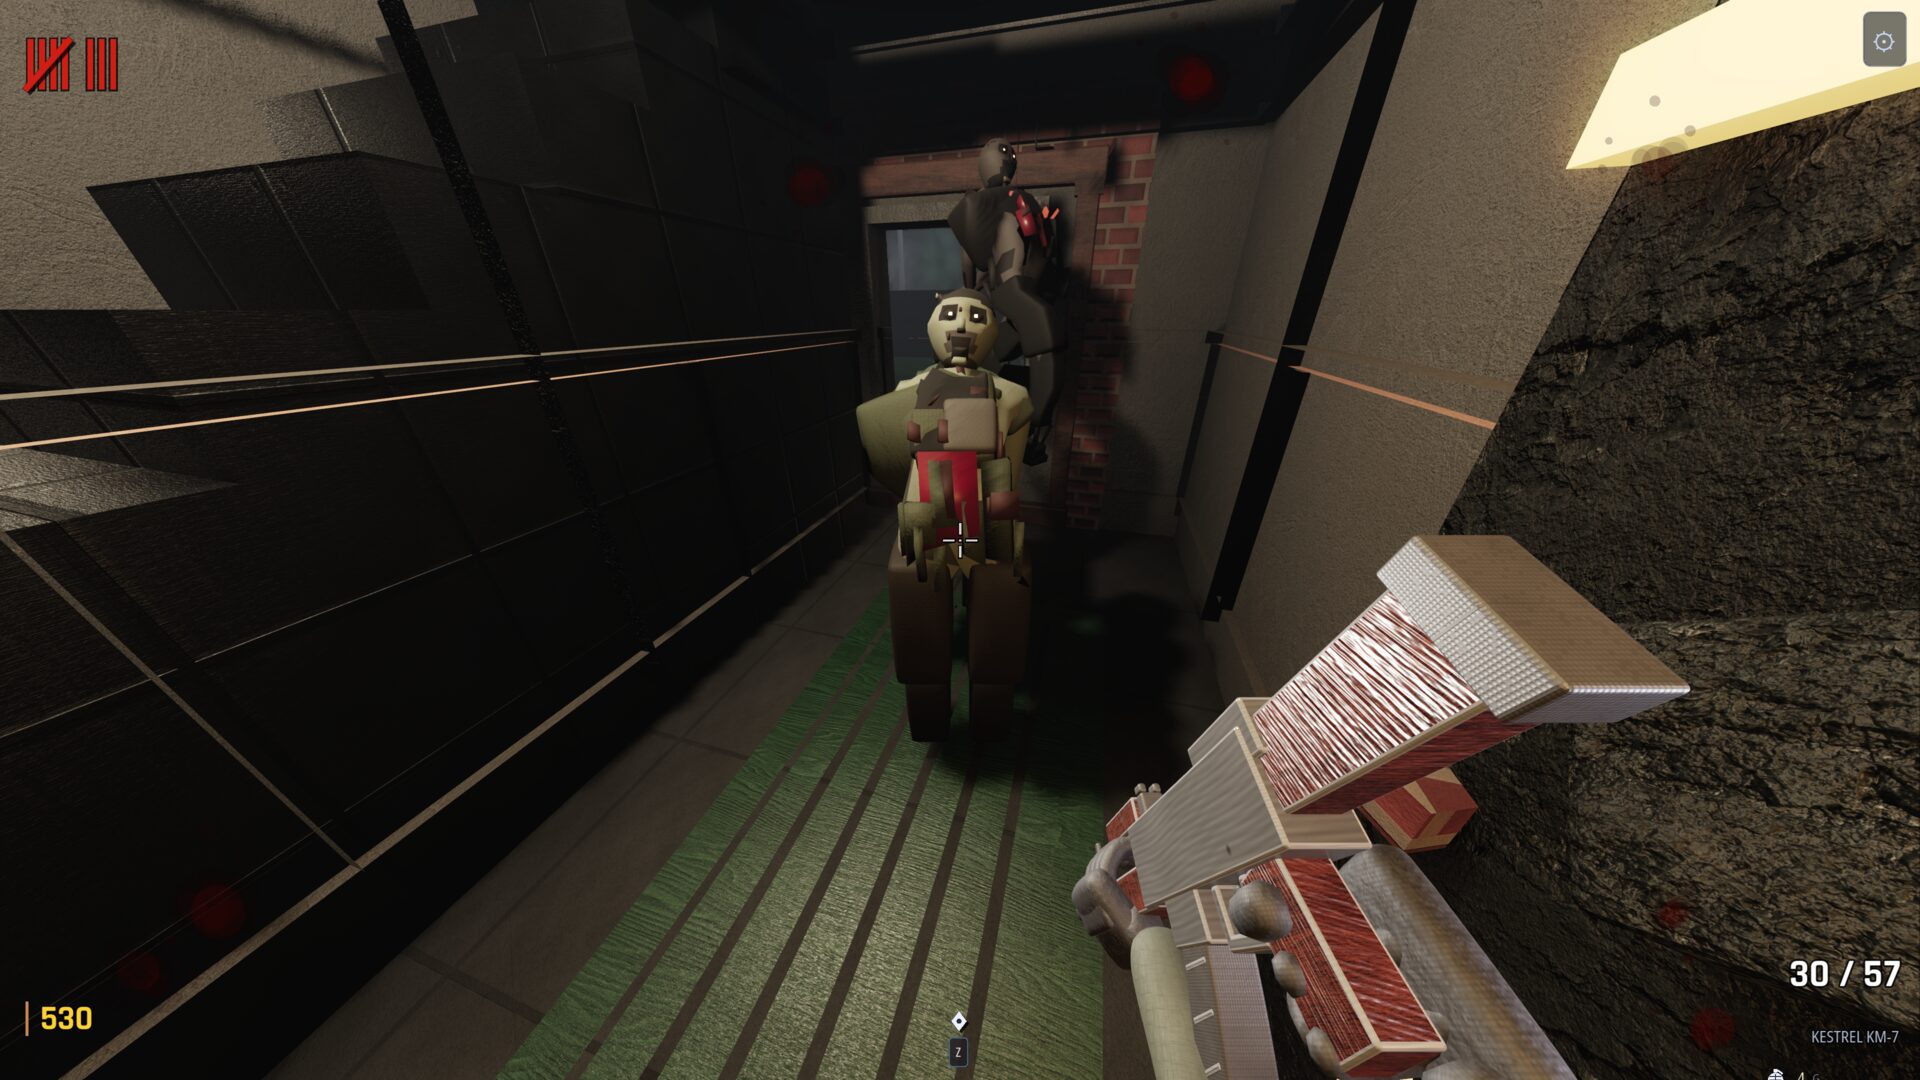
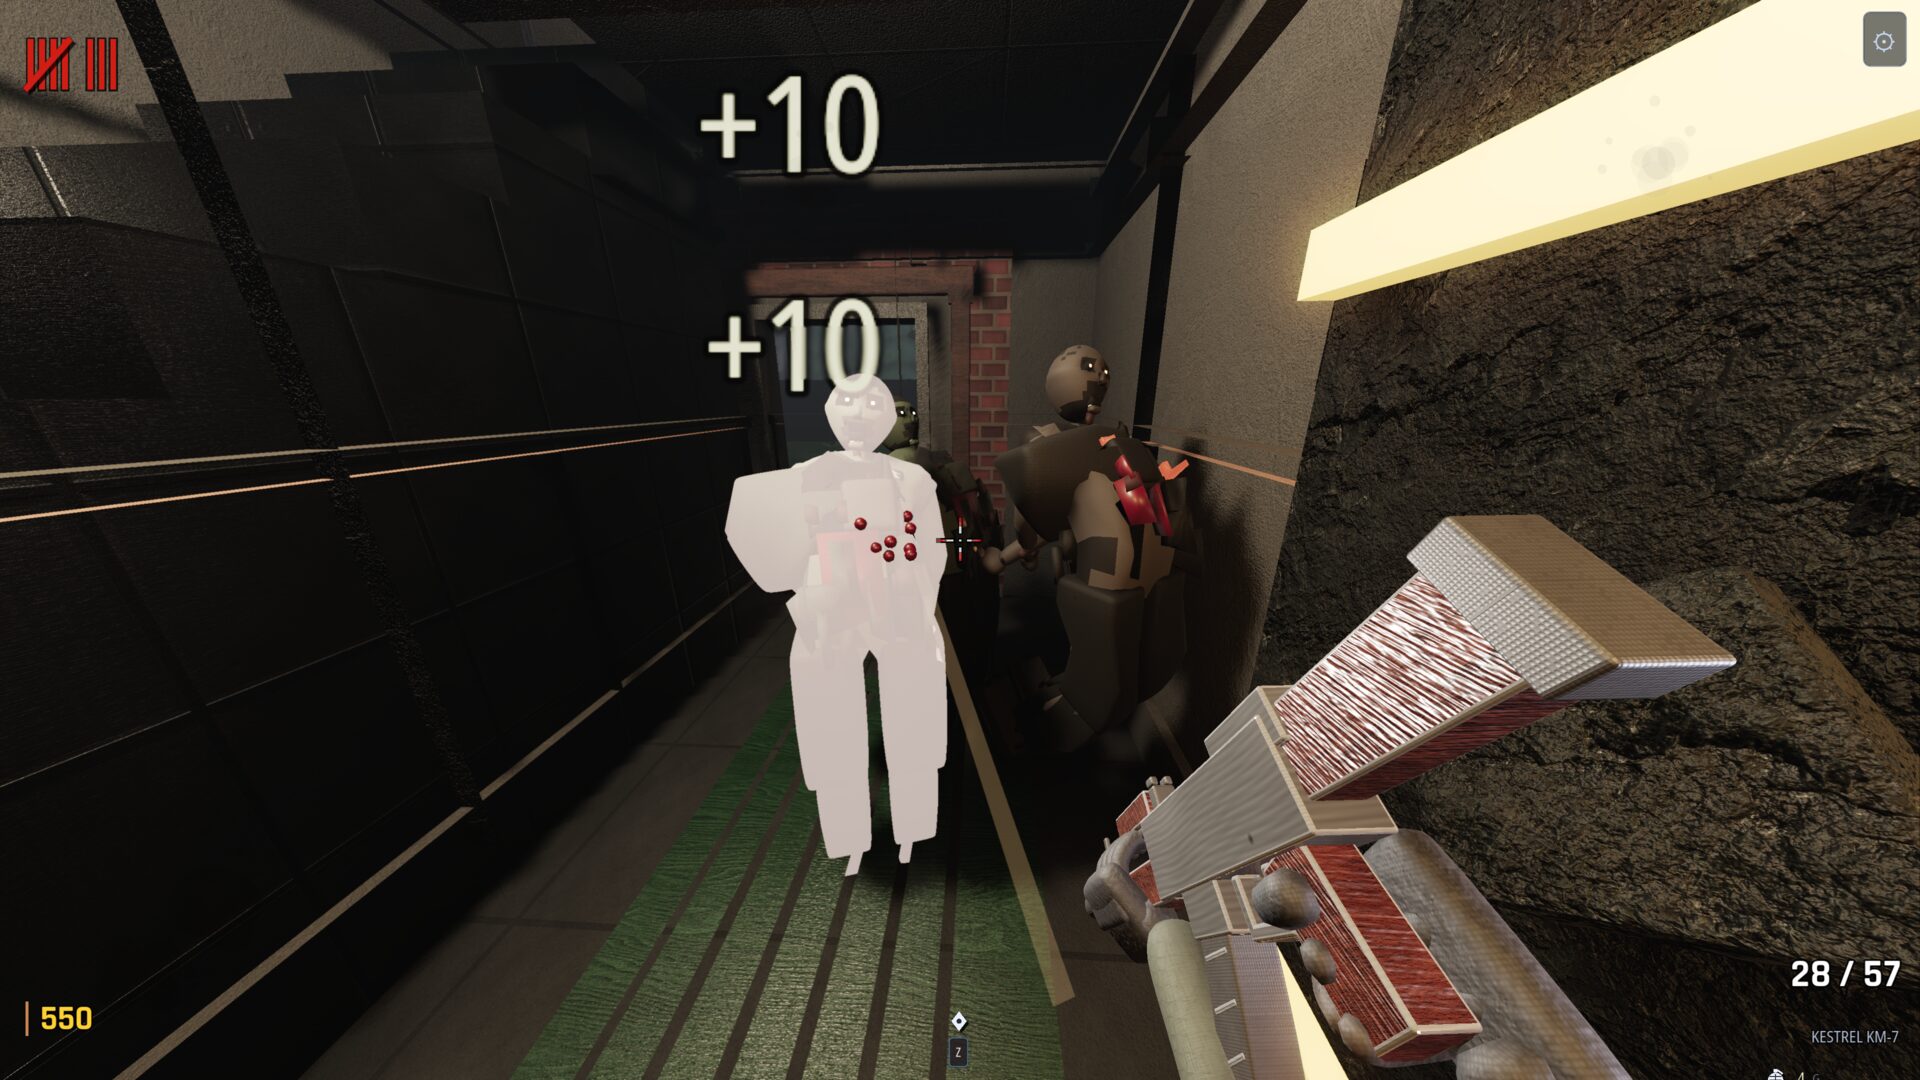
A walker comes down the corridor, lit and close — Outbreak, first person.
Two of them inside the room and hit markers landing: points ticking, round eight.
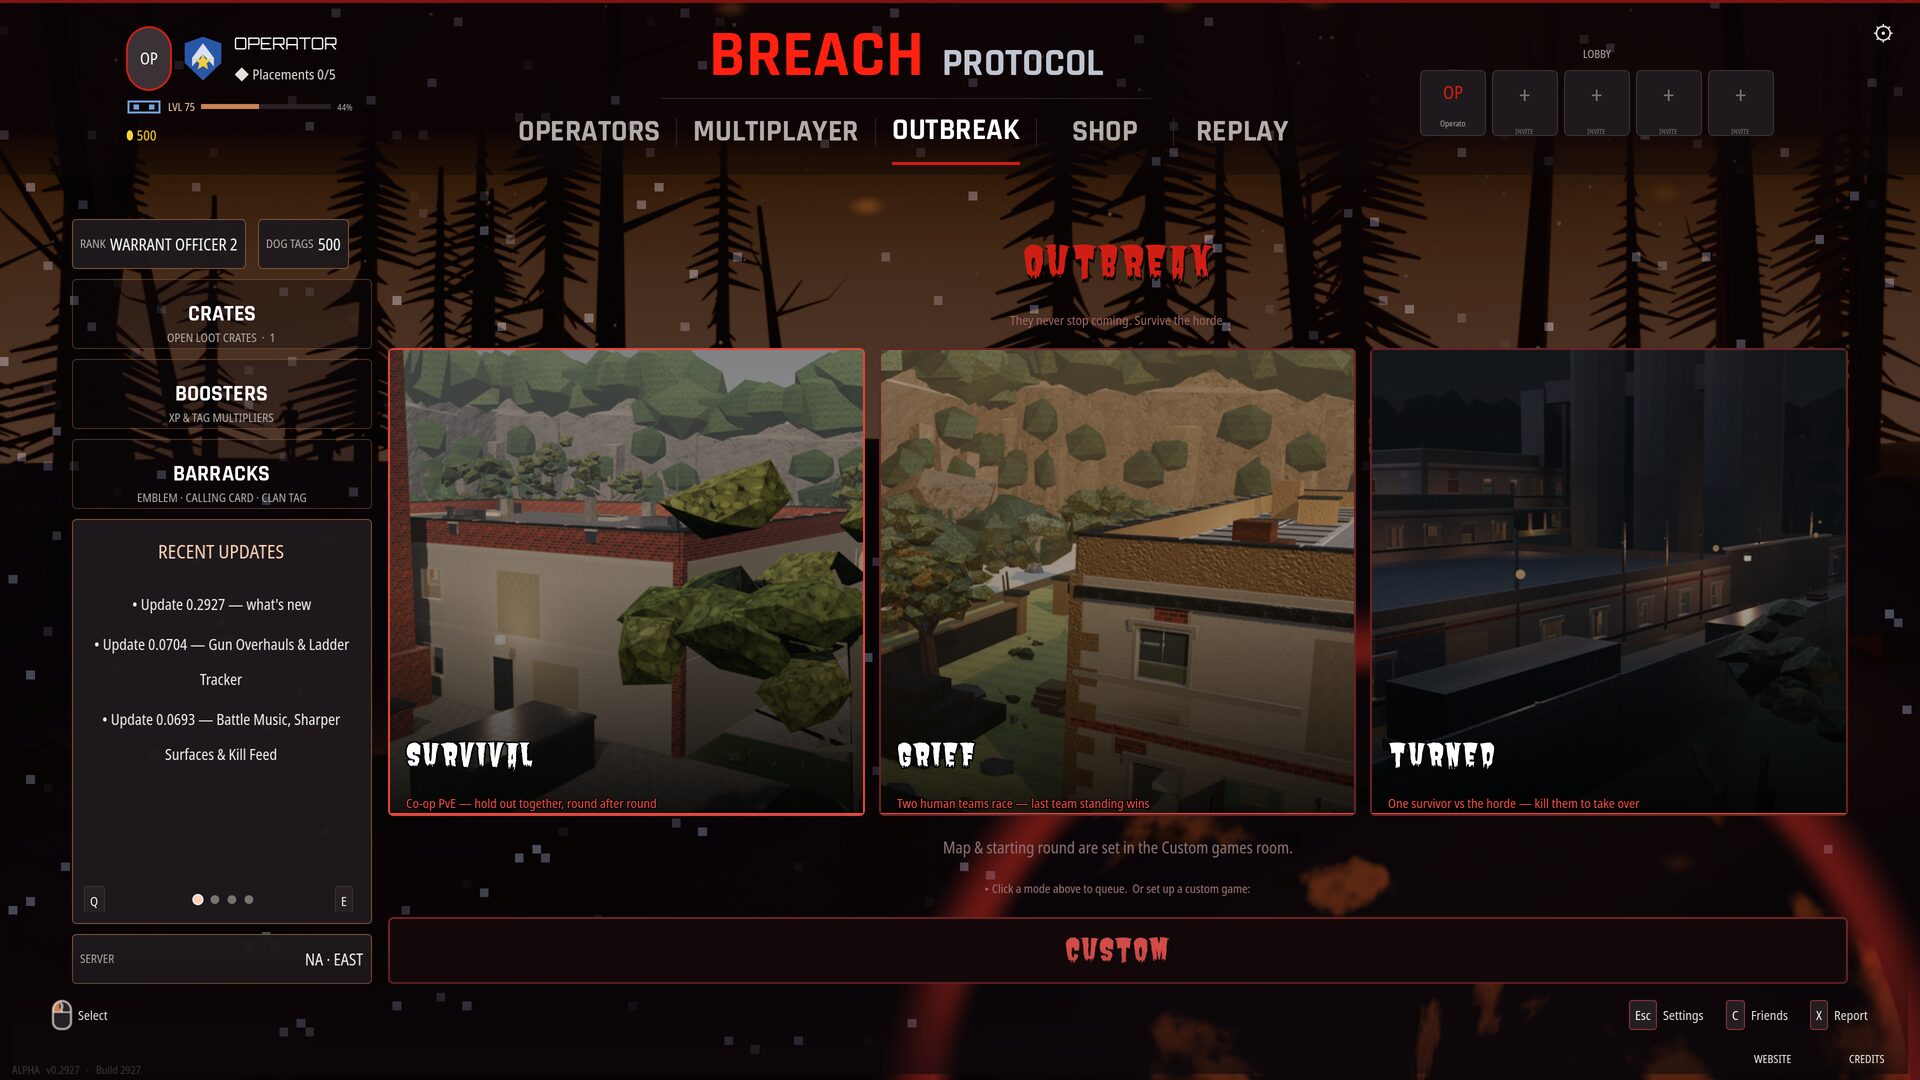
The Outbreak page in the front end — Survival, Grief and Turned, with the custom room that sets the map and the starting round.

The interface

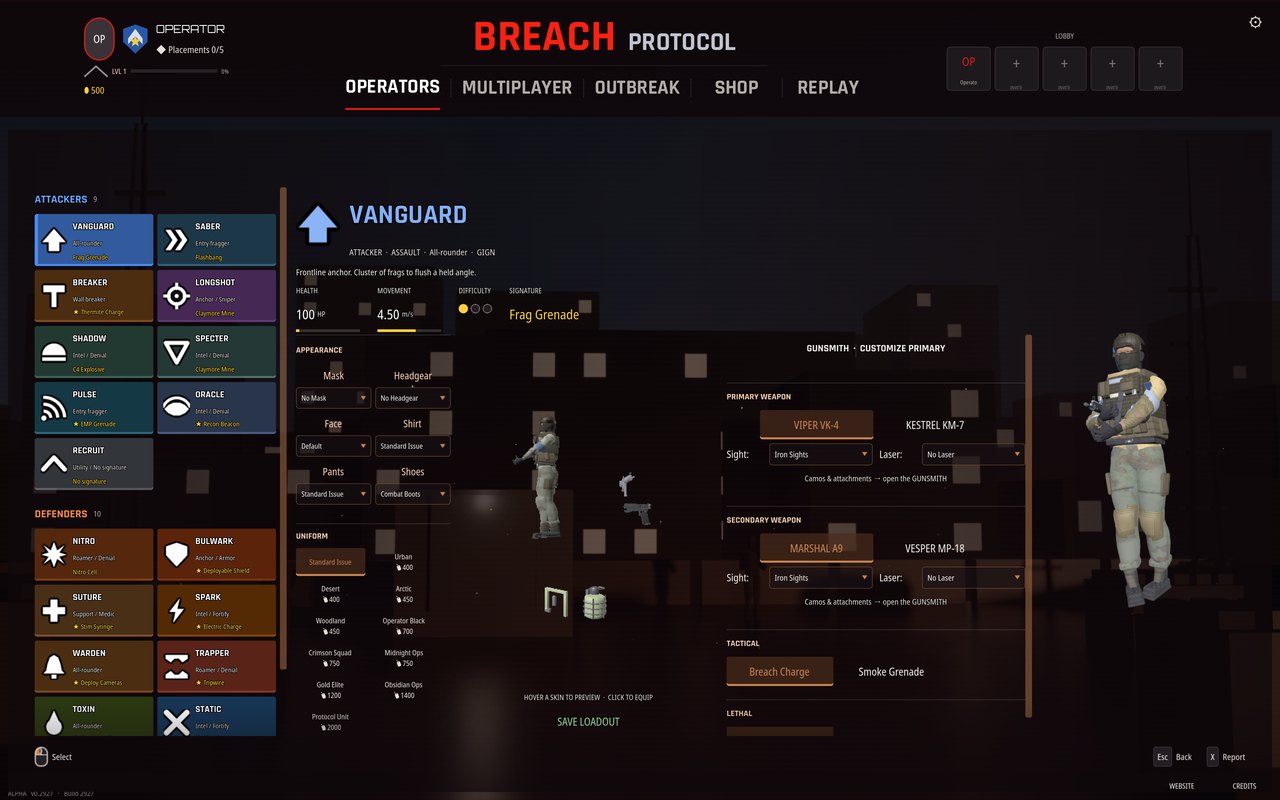
Menus as captured, on the build stamped in the corner of each frame. All three are shown as the full frame, uncropped, because a crop would cut the parts of them the captions are about. The heads-up display is up in the basics.
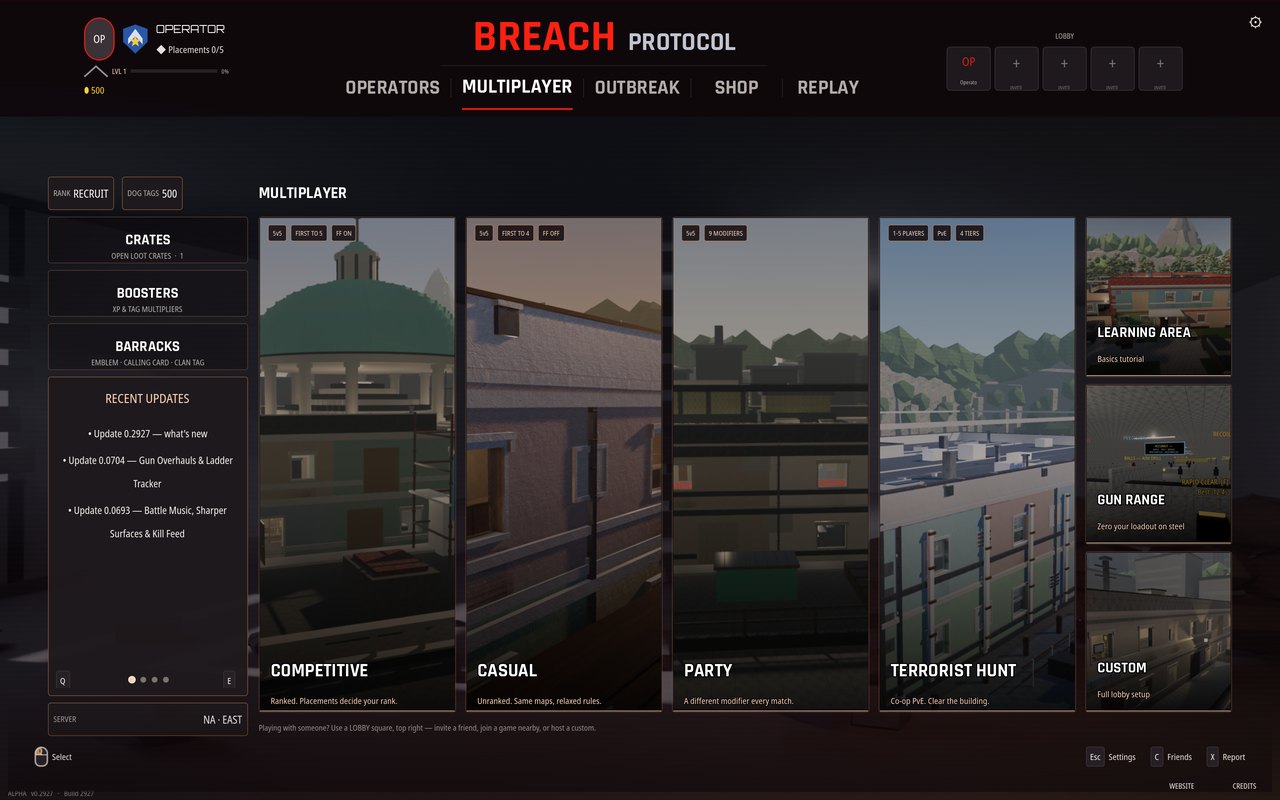
The main menu on the Multiplayer tab, showing playlist cards for Competitive, Casual, Party, Terrorist Hunt and Custom, with a learning area and gun range beside them
The front end. Competitive, Casual, Party and Terrorist Hunt, with the learning area, the gun range and a custom lobby alongside.
The operator select screen: an attacker roster and a defender roster down the left, Vanguard selected, with appearance, uniform and loadout on the right
Operator select — nine attackers, ten defenders, each listed with the role they play and the signature they bring.
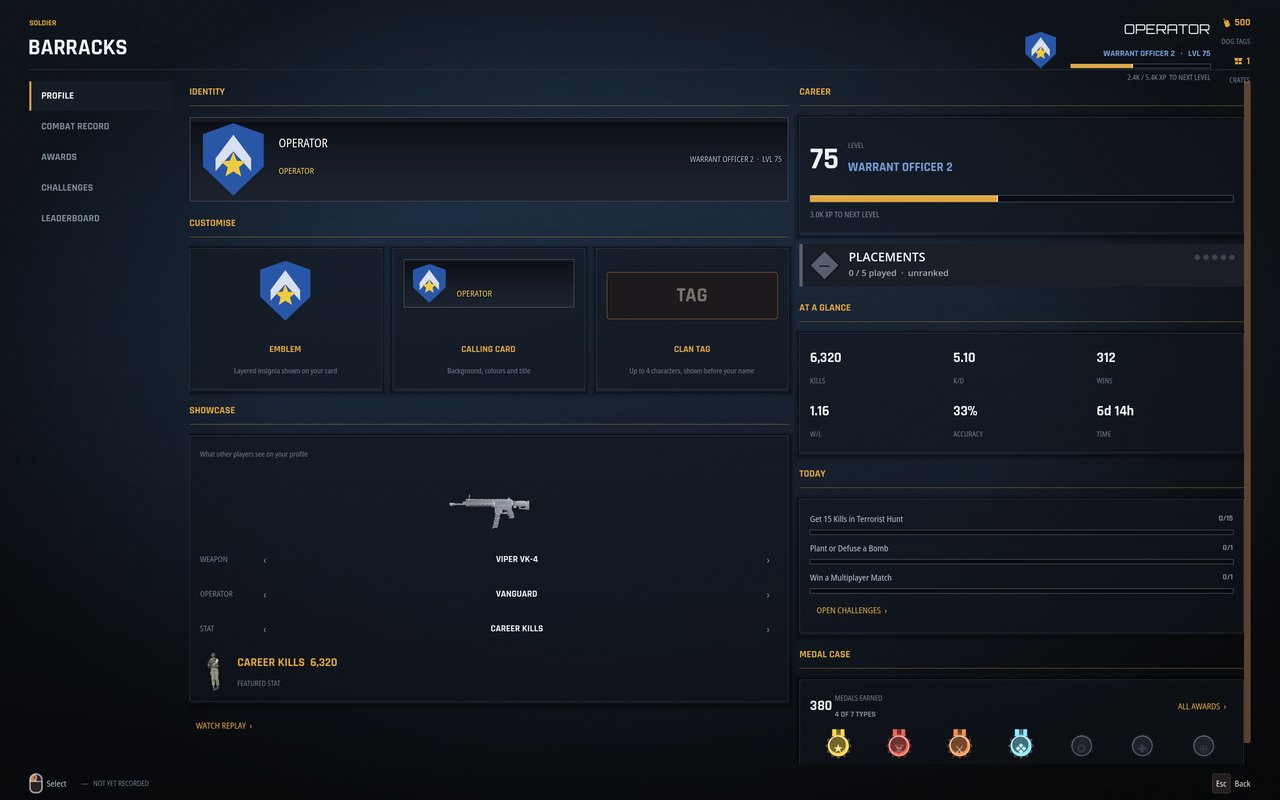
The Barracks profile screen: rank insignia and level, an experience bar, career statistics, the day's challenges and a medal case
The Barracks. One account across both modes — level and rank, career record, the day's challenges, and the medal case.

Community

These links are not live yet

The community channels below are placeholders. No Discord invite, social handle or channel URL has been created for Breach Protocol. Rather than publish a dead invite link, this section states plainly that it is coming — a broken invite in a game's footer is worse than no invite at all.

Discord

The alpha's home: build announcements, bug threads, and where playtest sessions get organised.

Invite not yet published

Video

Update showcases and mechanic breakdowns, when there are enough of them to be worth a channel.

Channel not yet published

Short-form

Clips, patch highlights and map reveals.

Account not yet published

Until then, the game itself is the channel

The in-game bulletin carries the notes for every update you have installed, and the report tool (press X in the menu) reaches the developers directly with your build, your operating system and your graphics adapter already attached. How support works →

Using these images

Screenshots on this page may be used in coverage of Breach Protocol with attribution. The name, the logo and the game's art are the project's own — see the Terms of Service for what that means in practice.